Weeks 5-8 - The Midterm
Coming to ITP, the physical computing classes had been highlighted as one of the star pieces of the program. The course midterm had also been highly talked about because of the consistent Halloween theme (since the class' midterm always falls close to Halloween). Jules, Michael, and I decided to work together to come up with a project.
In the initial stage we were brainstorming some ideas we've had for a halloween themed project, these are a few of the thoughts we've had in mind:
- A Jack in the box - something with a jump scare effect, perhaps with a sound played through an SD card connected to the arduino, maybe LEDs lighting up from some take on a jack O' lantern and other clichés. We had an idea that the scary thing in the box could be pumpkin spice, maybe thrown at the user but we abandoned the idea since it was to scary.
- Trick or treat oriented project where the user picks up candies and they scream or beg for help. we thought about using pressure sensors and attach each one a specific voice recording which it activates. we weren't sure how to present it though, we thought it might be weird to present only a few candies that the users can pick up to make sounds, something felt unclear about the idea, but we did like the concept of creating sound via pressure sensors. Another version of the same idea was having a basket full of candies the makes different spooky sounds.
-
Creating a frustrating claw machine that do not collect anything (sounded a bit like the usual
ones) and makes mean sounds.
-
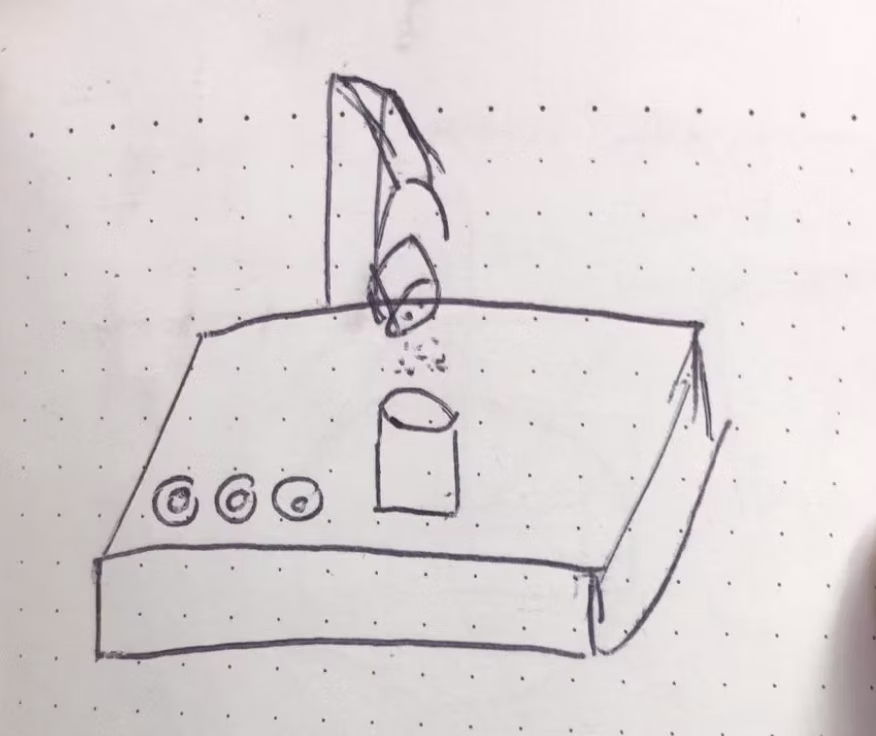
The last idea that was actually building off of the second idea was creating a stage where
poeple can place different objects (we still weren't sure what) on platforms with load cells
pressure sensors to generate different halloween sounds. The Idea was that there will be several
platforms and it will allow a group of people to play the instrument together using differnt
objects with different weights to generate sounds. Maybe some sort of a kids instrument for
intreducing them to halloween.
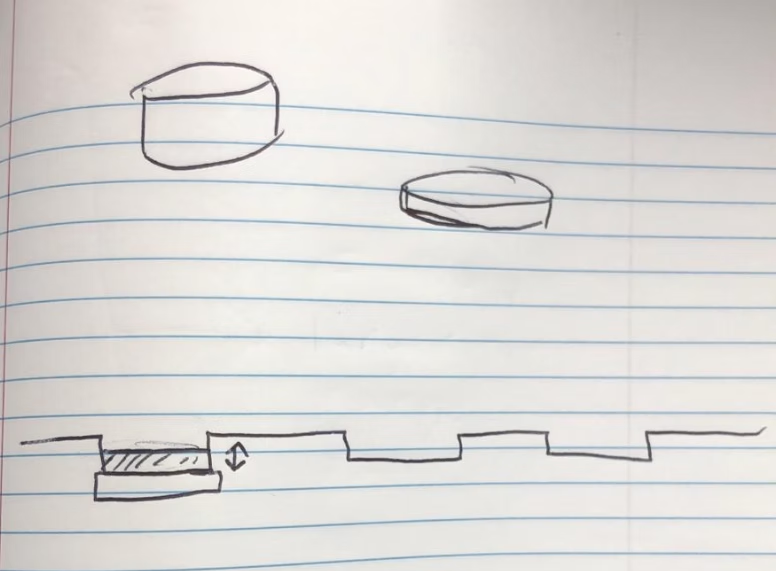
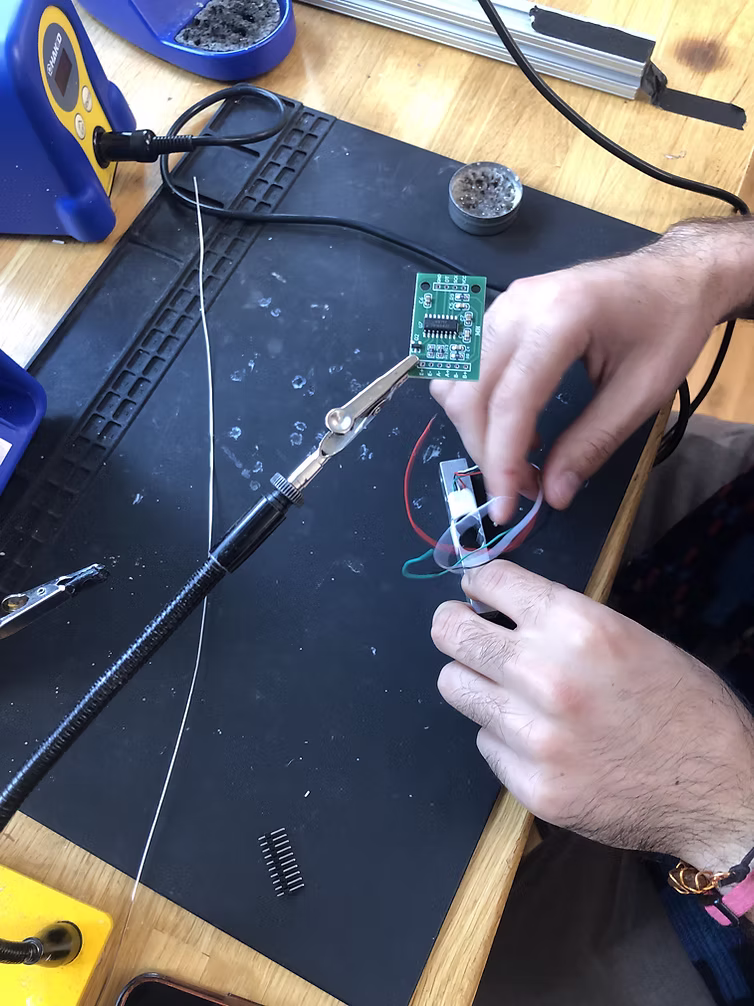
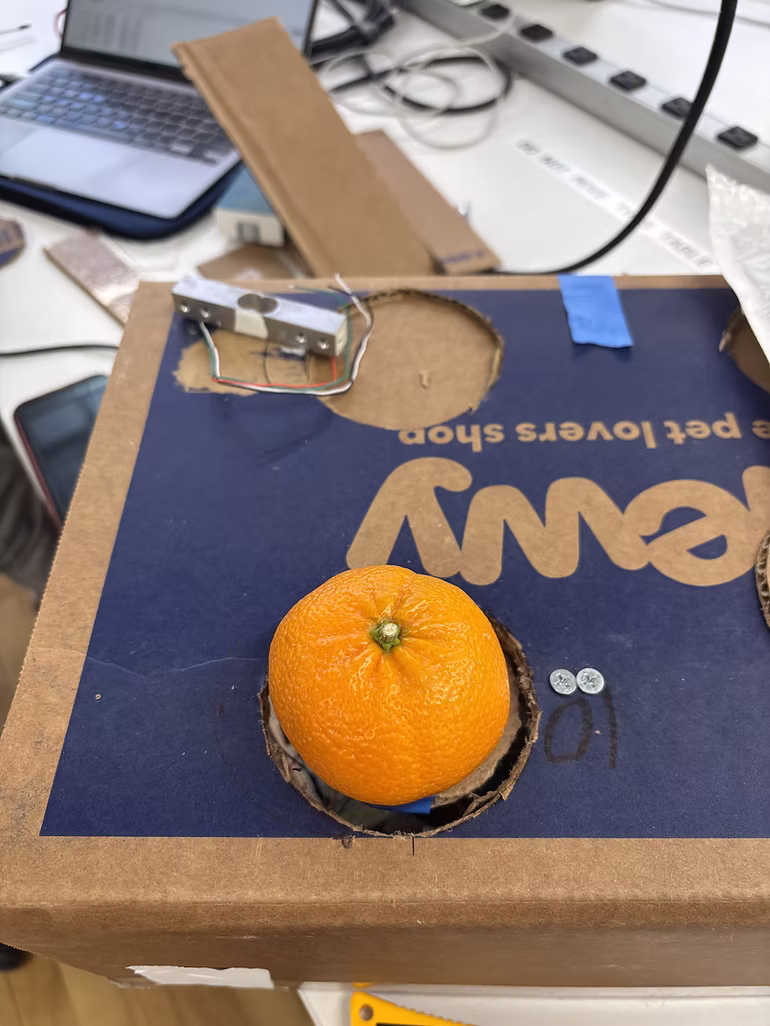
We moved on with the last idea. we decided to build the device like a small stage of a halloween festival not sure if we should decorate it like a halloween lawn or a pile of hay with haloween items decorating it. We agreed to move on with the technical side and start testing the pressure sensors. We soldered the load cells so we can connect it to the arduino, and later discovered that they work best when attached halfway to an object having half of the surface exposed and free to bend. After testing the sensors can read pressure value properly we went on to build the mockup for the stage so we can start testing the interaction of the instrument with different items.
Test code for the load cell sensors:
                        #include <7semi_HX711.h>

                        // HX711 pin configuration
                        const int dataPin1 = 2;   // Sensor 1 DOUT
                        const int clockPin1 = 3;  // Sensor 1 SCK

                        const int dataPin2 = 4;   // Sensor 2 DOUT
                        const int clockPin2 = 5;  // Sensor 2 SCK

                        const int dataPin3 = 6;   // Sensor 2 DOUT
                        const int clockPin3 = 7;  // Sensor 2 SCK

                        const int dataPin4 = 8;   // Sensor 2 DOUT
                        const int clockPin4 = 9;  // Sensor 2 SCK

                        float scale = 230.00;  // Calibration factor (raw units per gram)

                        HX711_7semi sensor1(dataPin1, clockPin1);
                        HX711_7semi sensor2(dataPin2, clockPin2);
                        HX711_7semi sensor3(dataPin3, clockPin3);
                        HX711_7semi sensor4(dataPin4, clockPin4);

                        void setup() {
                        Serial.begin(9600);
                        while (!Serial);  // Wait for Serial on boards like Nano 33 IoT

                        sensor1.begin();
                        sensor2.begin();
                        sensor3.begin();
                        sensor4.begin();

                        sensor1.setScale(scale);
                        sensor1.tare();

                        sensor2.setScale(scale);
                        sensor2.tare();

                        sensor3.setScale(scale);
                        sensor3.tare();

                        sensor4.setScale(scale);
                        sensor4.tare();

                        Serial.println("Tare done. Starting weight measurement...");
                        }

                        void loop() {
                        float weight1 = sensor1.getWeight();  // Get weight from sensor 1
                        float weight2 = sensor2.getWeight();  // Get weight from sensor 2
                        float weight3 = sensor3.getWeight();  // Get weight from sensor 2
                        float weight4 = sensor4.getWeight();  // Get weight from sensor 2


                        Serial.print("Weight 1: ");
                        Serial.print(weight1, 2);
                        Serial.print(" g\tWeight 2: ");
                        Serial.print(weight2, 2);
                        Serial.print(" g\tWeight 3: ");
                        Serial.print(weight3, 2);
                        Serial.print(" g\tWeight 4: ");
                        Serial.print(weight4, 2);
                        Serial.println(" g");

                        // delay(100);  // Optional delay to reduce output rate
                        }
For the music part we tried using the Mozzi library but didn't have a lot of sucsses with that. As an alternative we created some manipulations on regular tones so they would last longer. so the noteDuration is longer, it has a vibrato to make a more halloween-ish sound and detuneRange to give the sound a wobbly effect. the detune constantly bends the pitch of the the tone played. Here is the test on FSR's. each sensor is genereting a different octave in order to expend the available tones users can provoke.
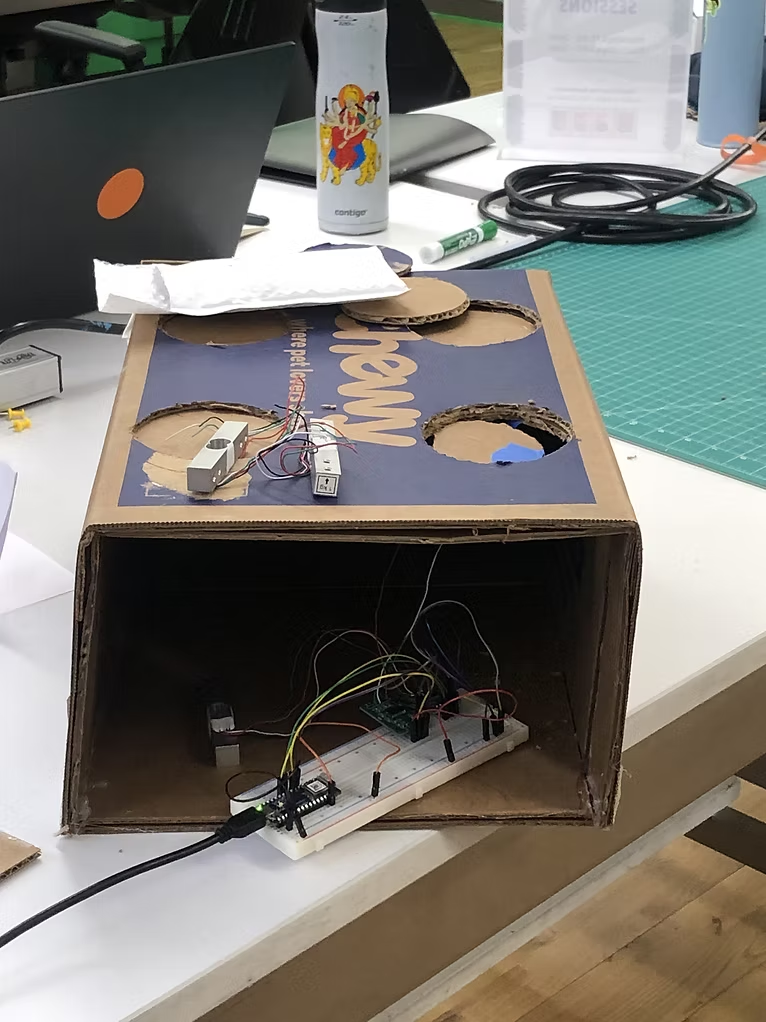
The result was a sound of a halloween themed old computer game that we liked and it felt like it fits the concept of a children instrument. Testing the sounds on the mockup:
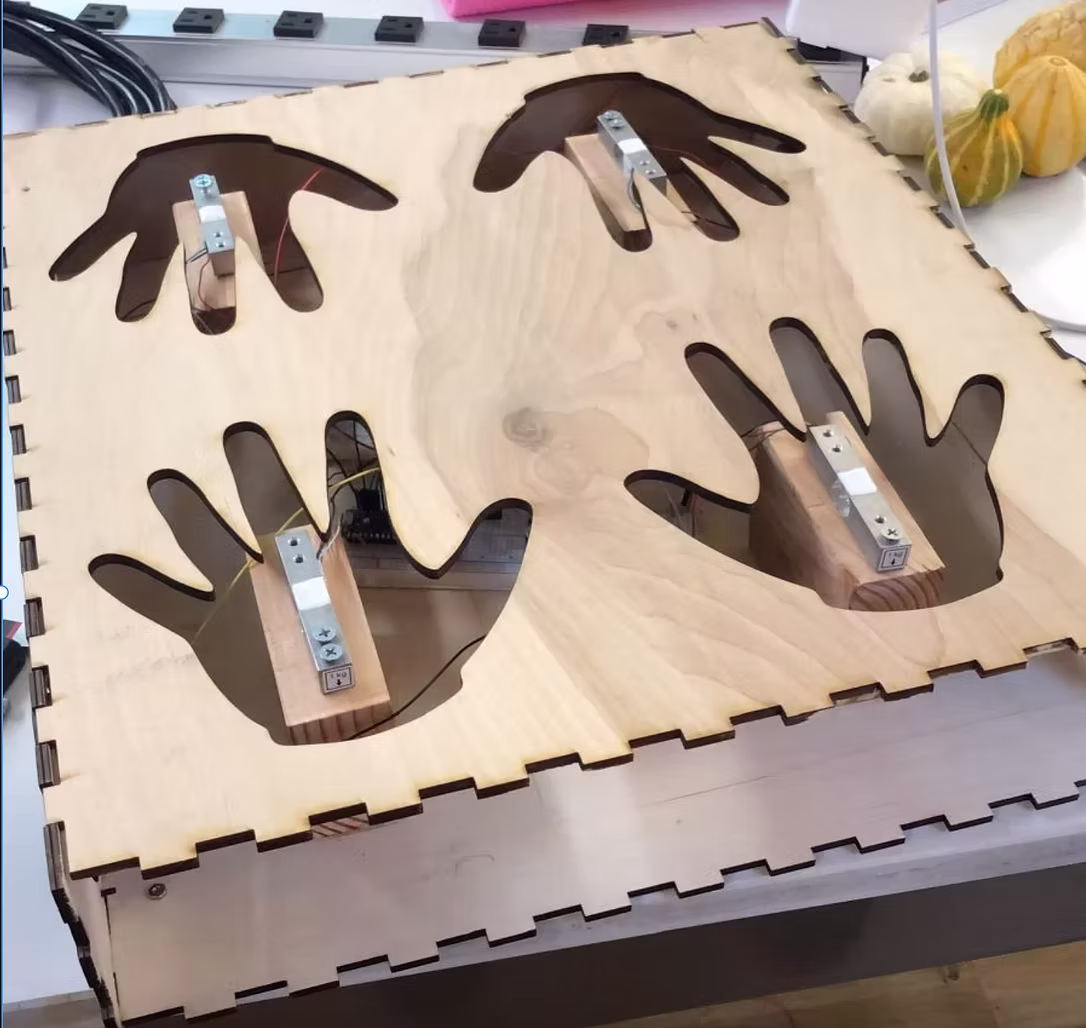
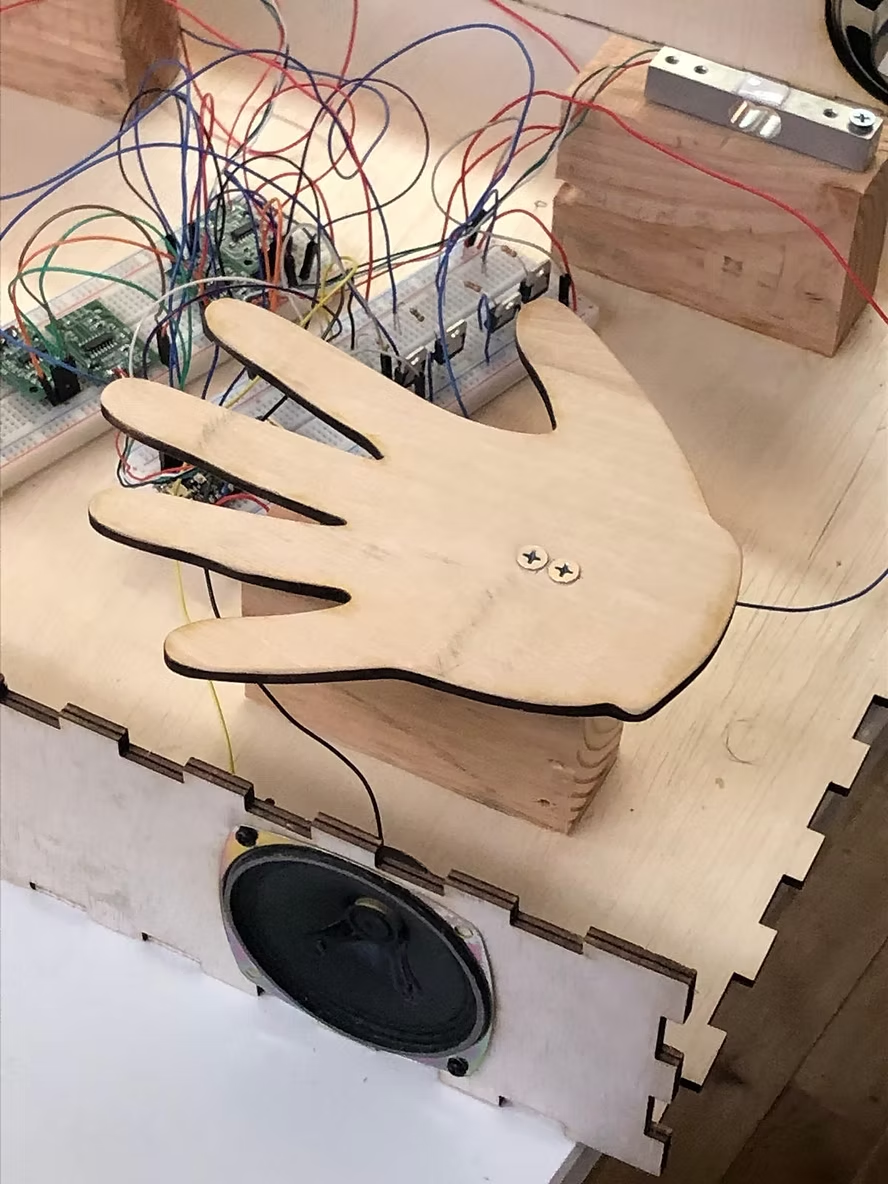
One of the reasons we chose using small items to provoke the sensor was that the load cells are really sensitive and were concerned they might break. Later on we realized we can secure the load cells and we are less limited about pressure inflicted on them. We decided to change the interface so the user will use the hands to activate the sensors. We started designing the wooden stage/box and taking hand measures for the fabrication part.
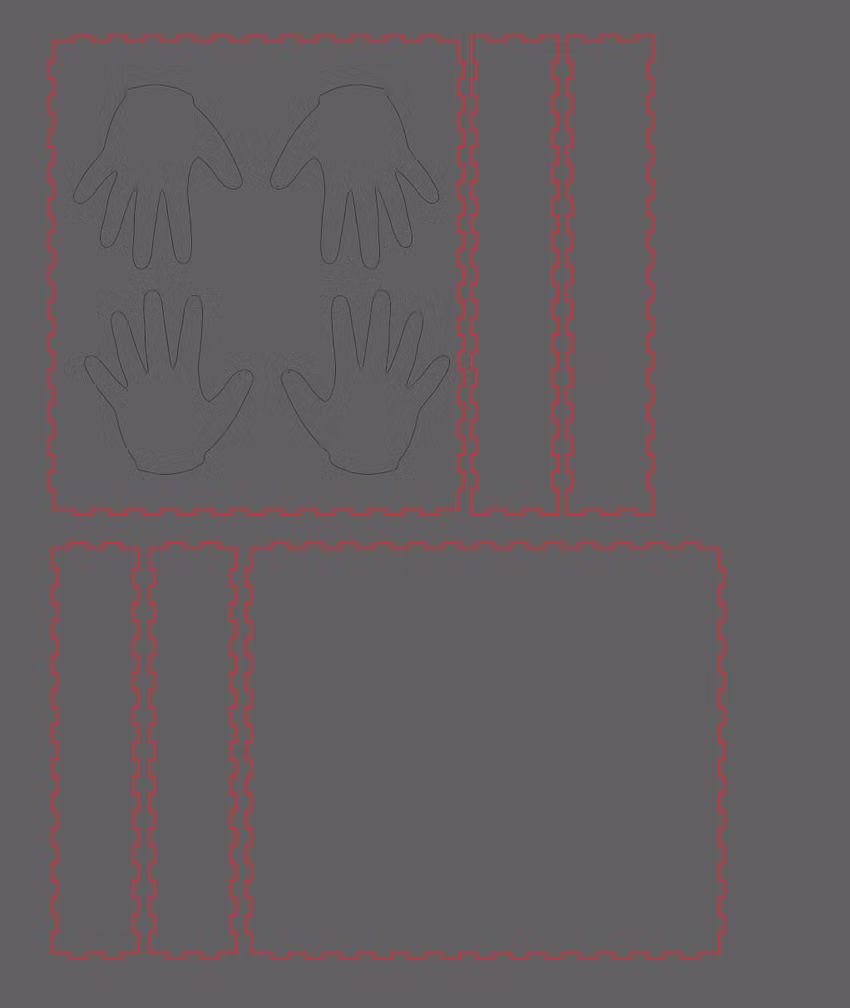
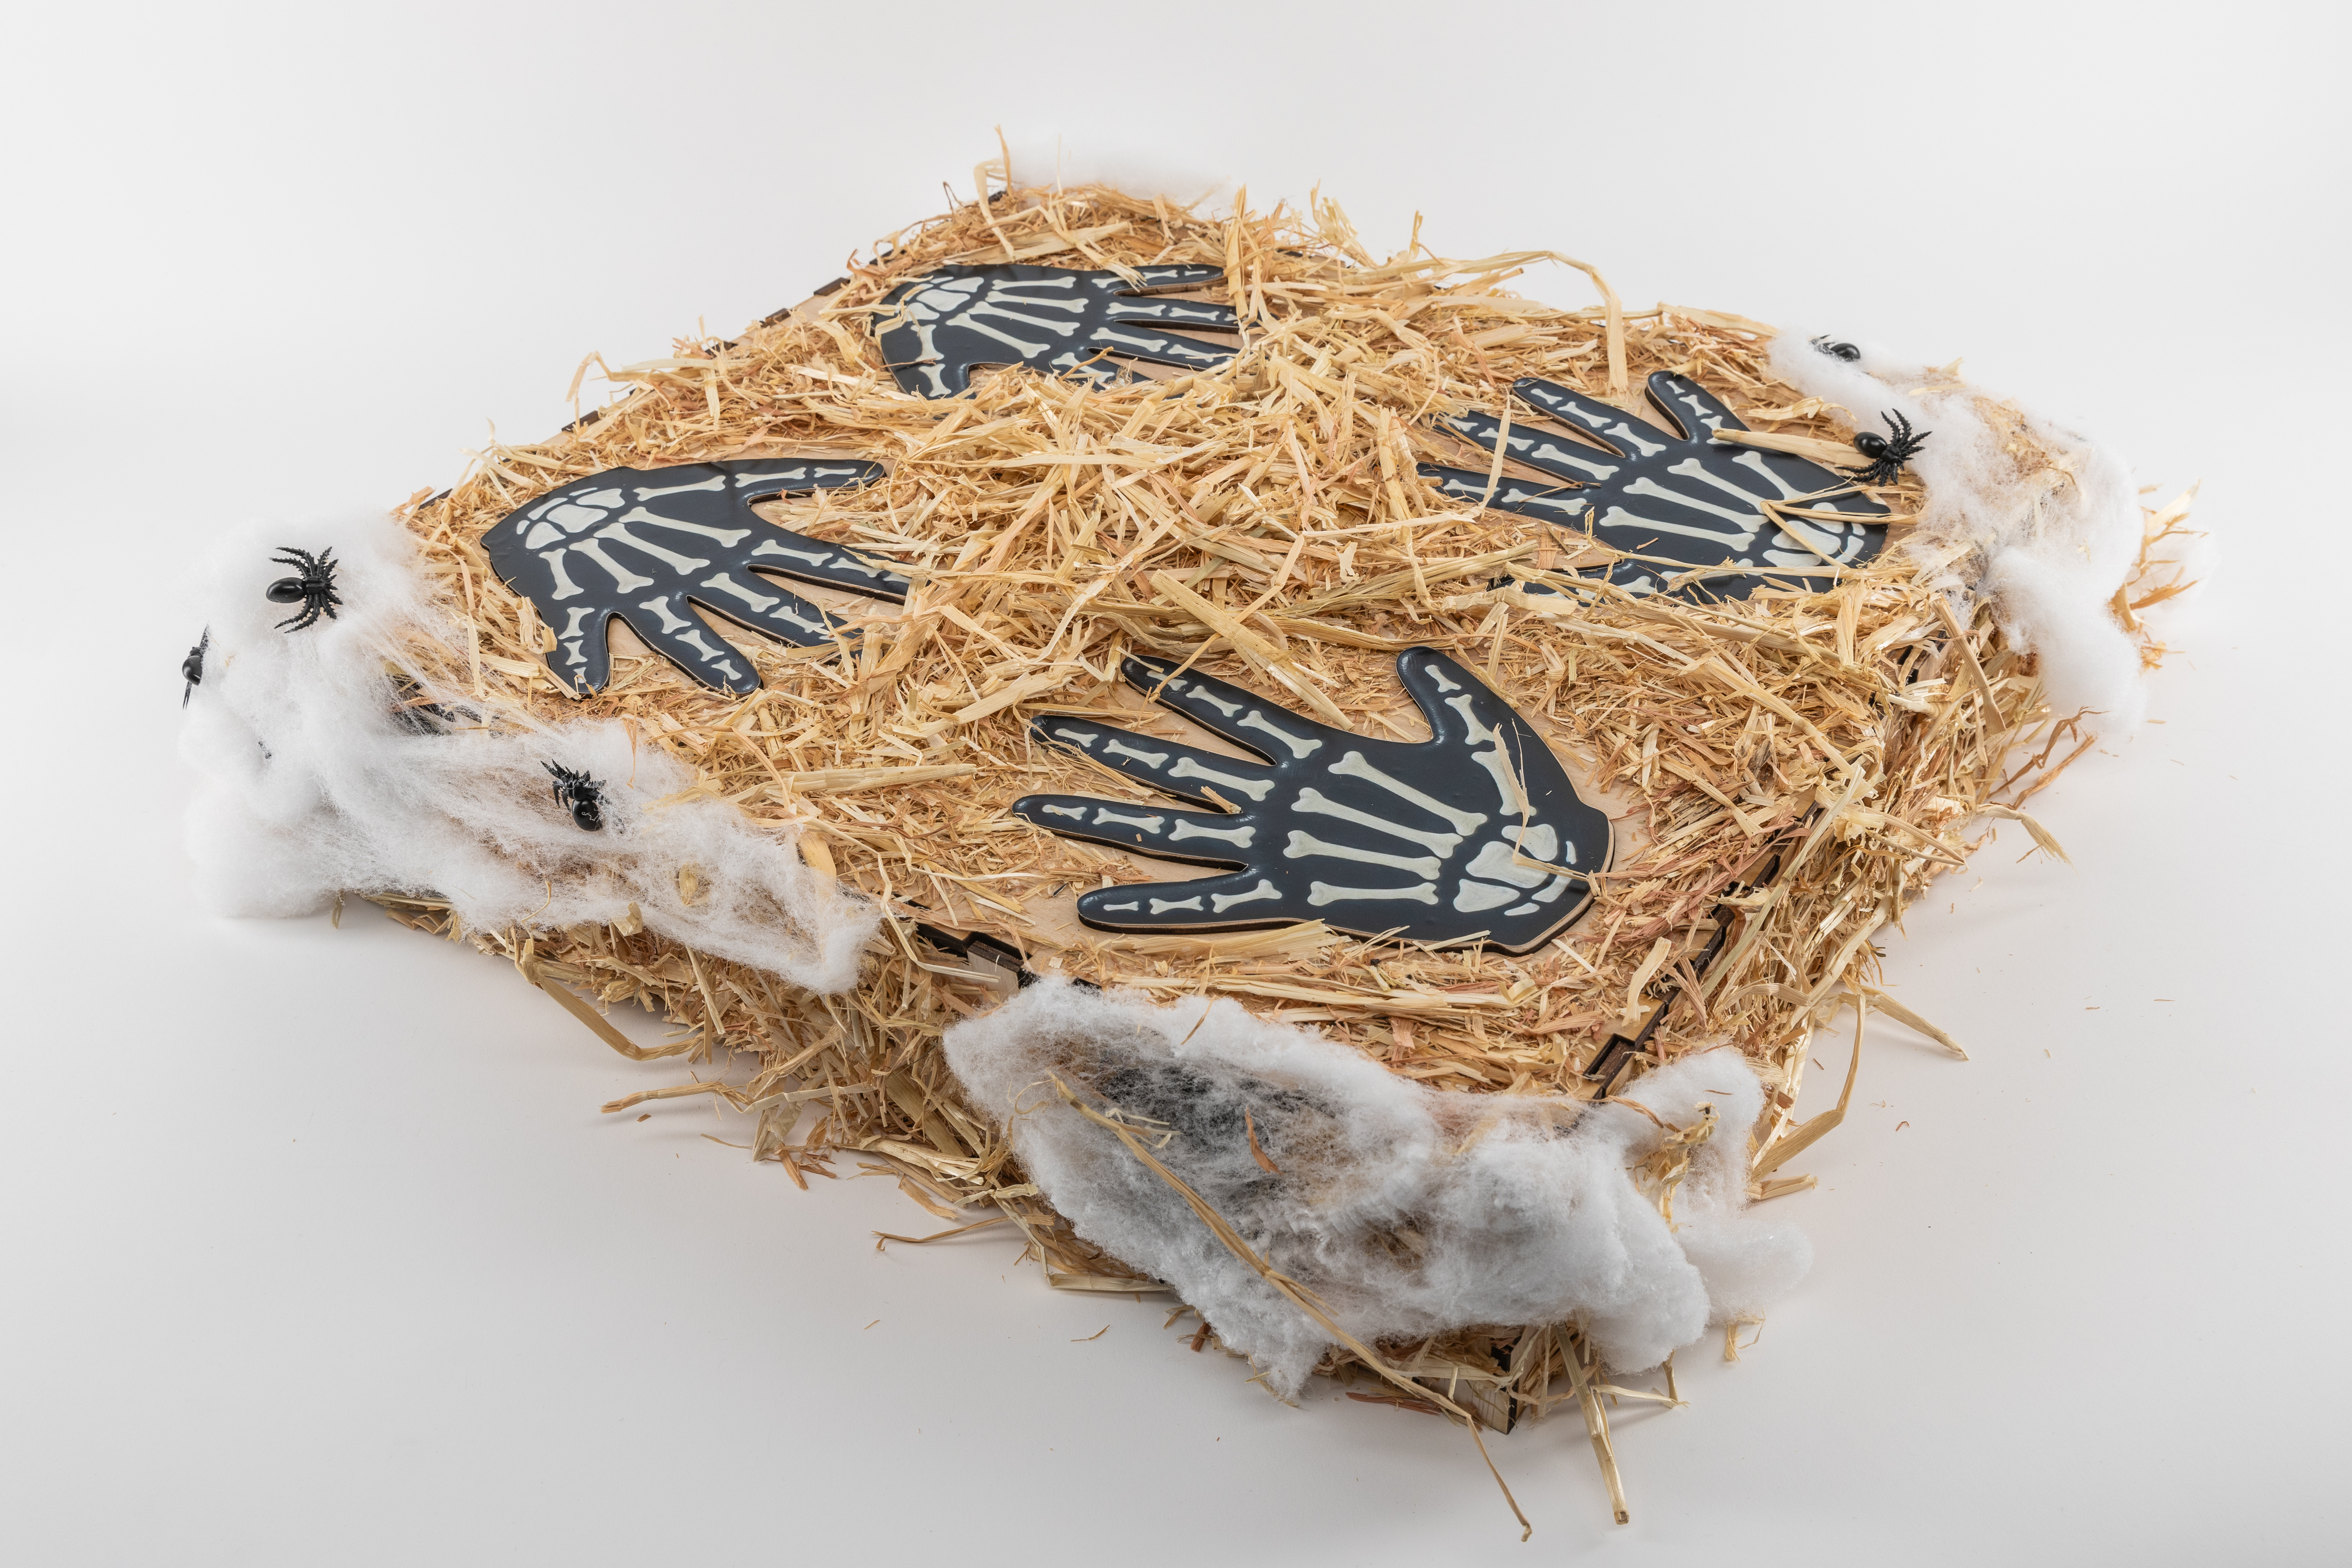
Then we started designing sticker to for the hands to make it more appealing:

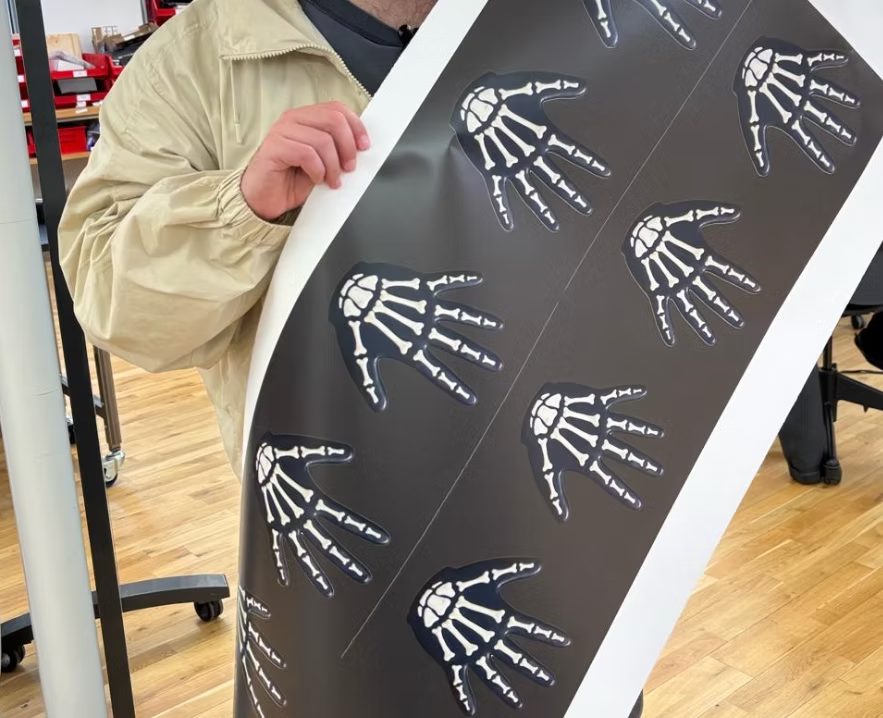
Which later evolved to this after a cleaner design in Photoshop and textures with AI:
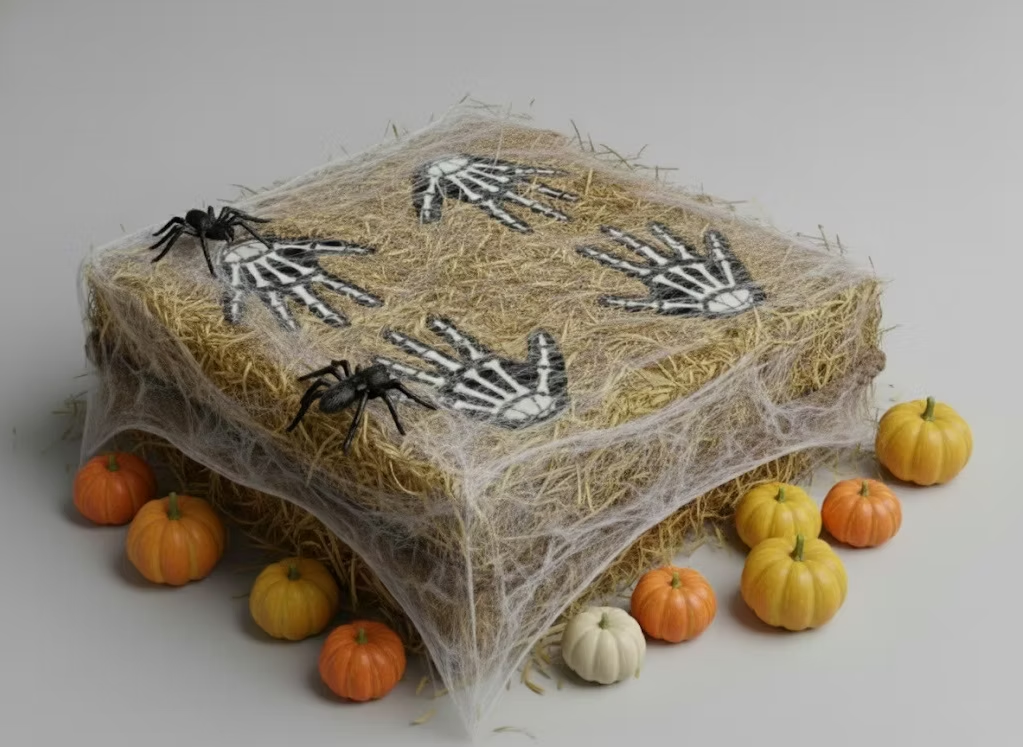
And this is the simulation for the final decoration:
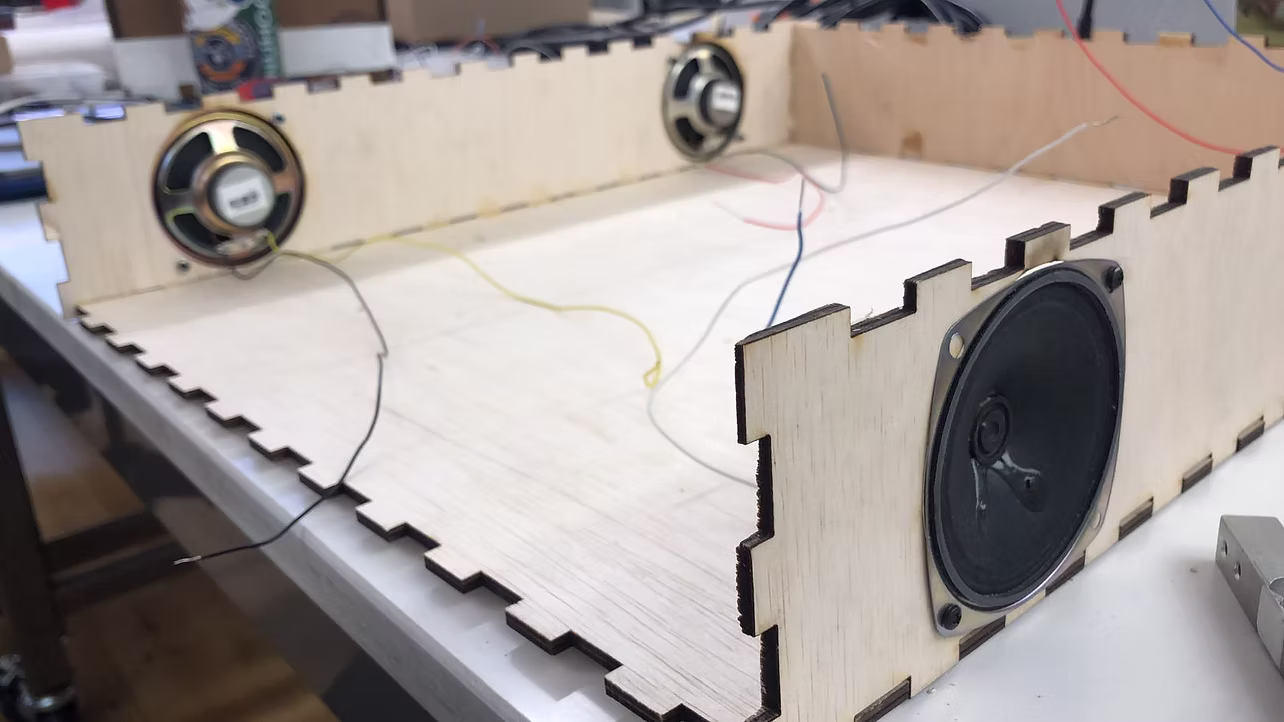
Next step was setting up the enclosure and securing the load cell and screwing the amps to the sides of the box: