Week 2 - Anolog Analog Analog
After the second class, I was feeling more confident with electronics and analog methods of interactions and interested in how the Arduino board can be used besides supplying power to a circuit. Coming from a programming background, I was excited to see how the board can be programmed and how it can be used to create more complex interactions and changes within tangible elements. This week's labs felt more straight forward than before because of the familiarity with the programming environment and how it can be debugged.
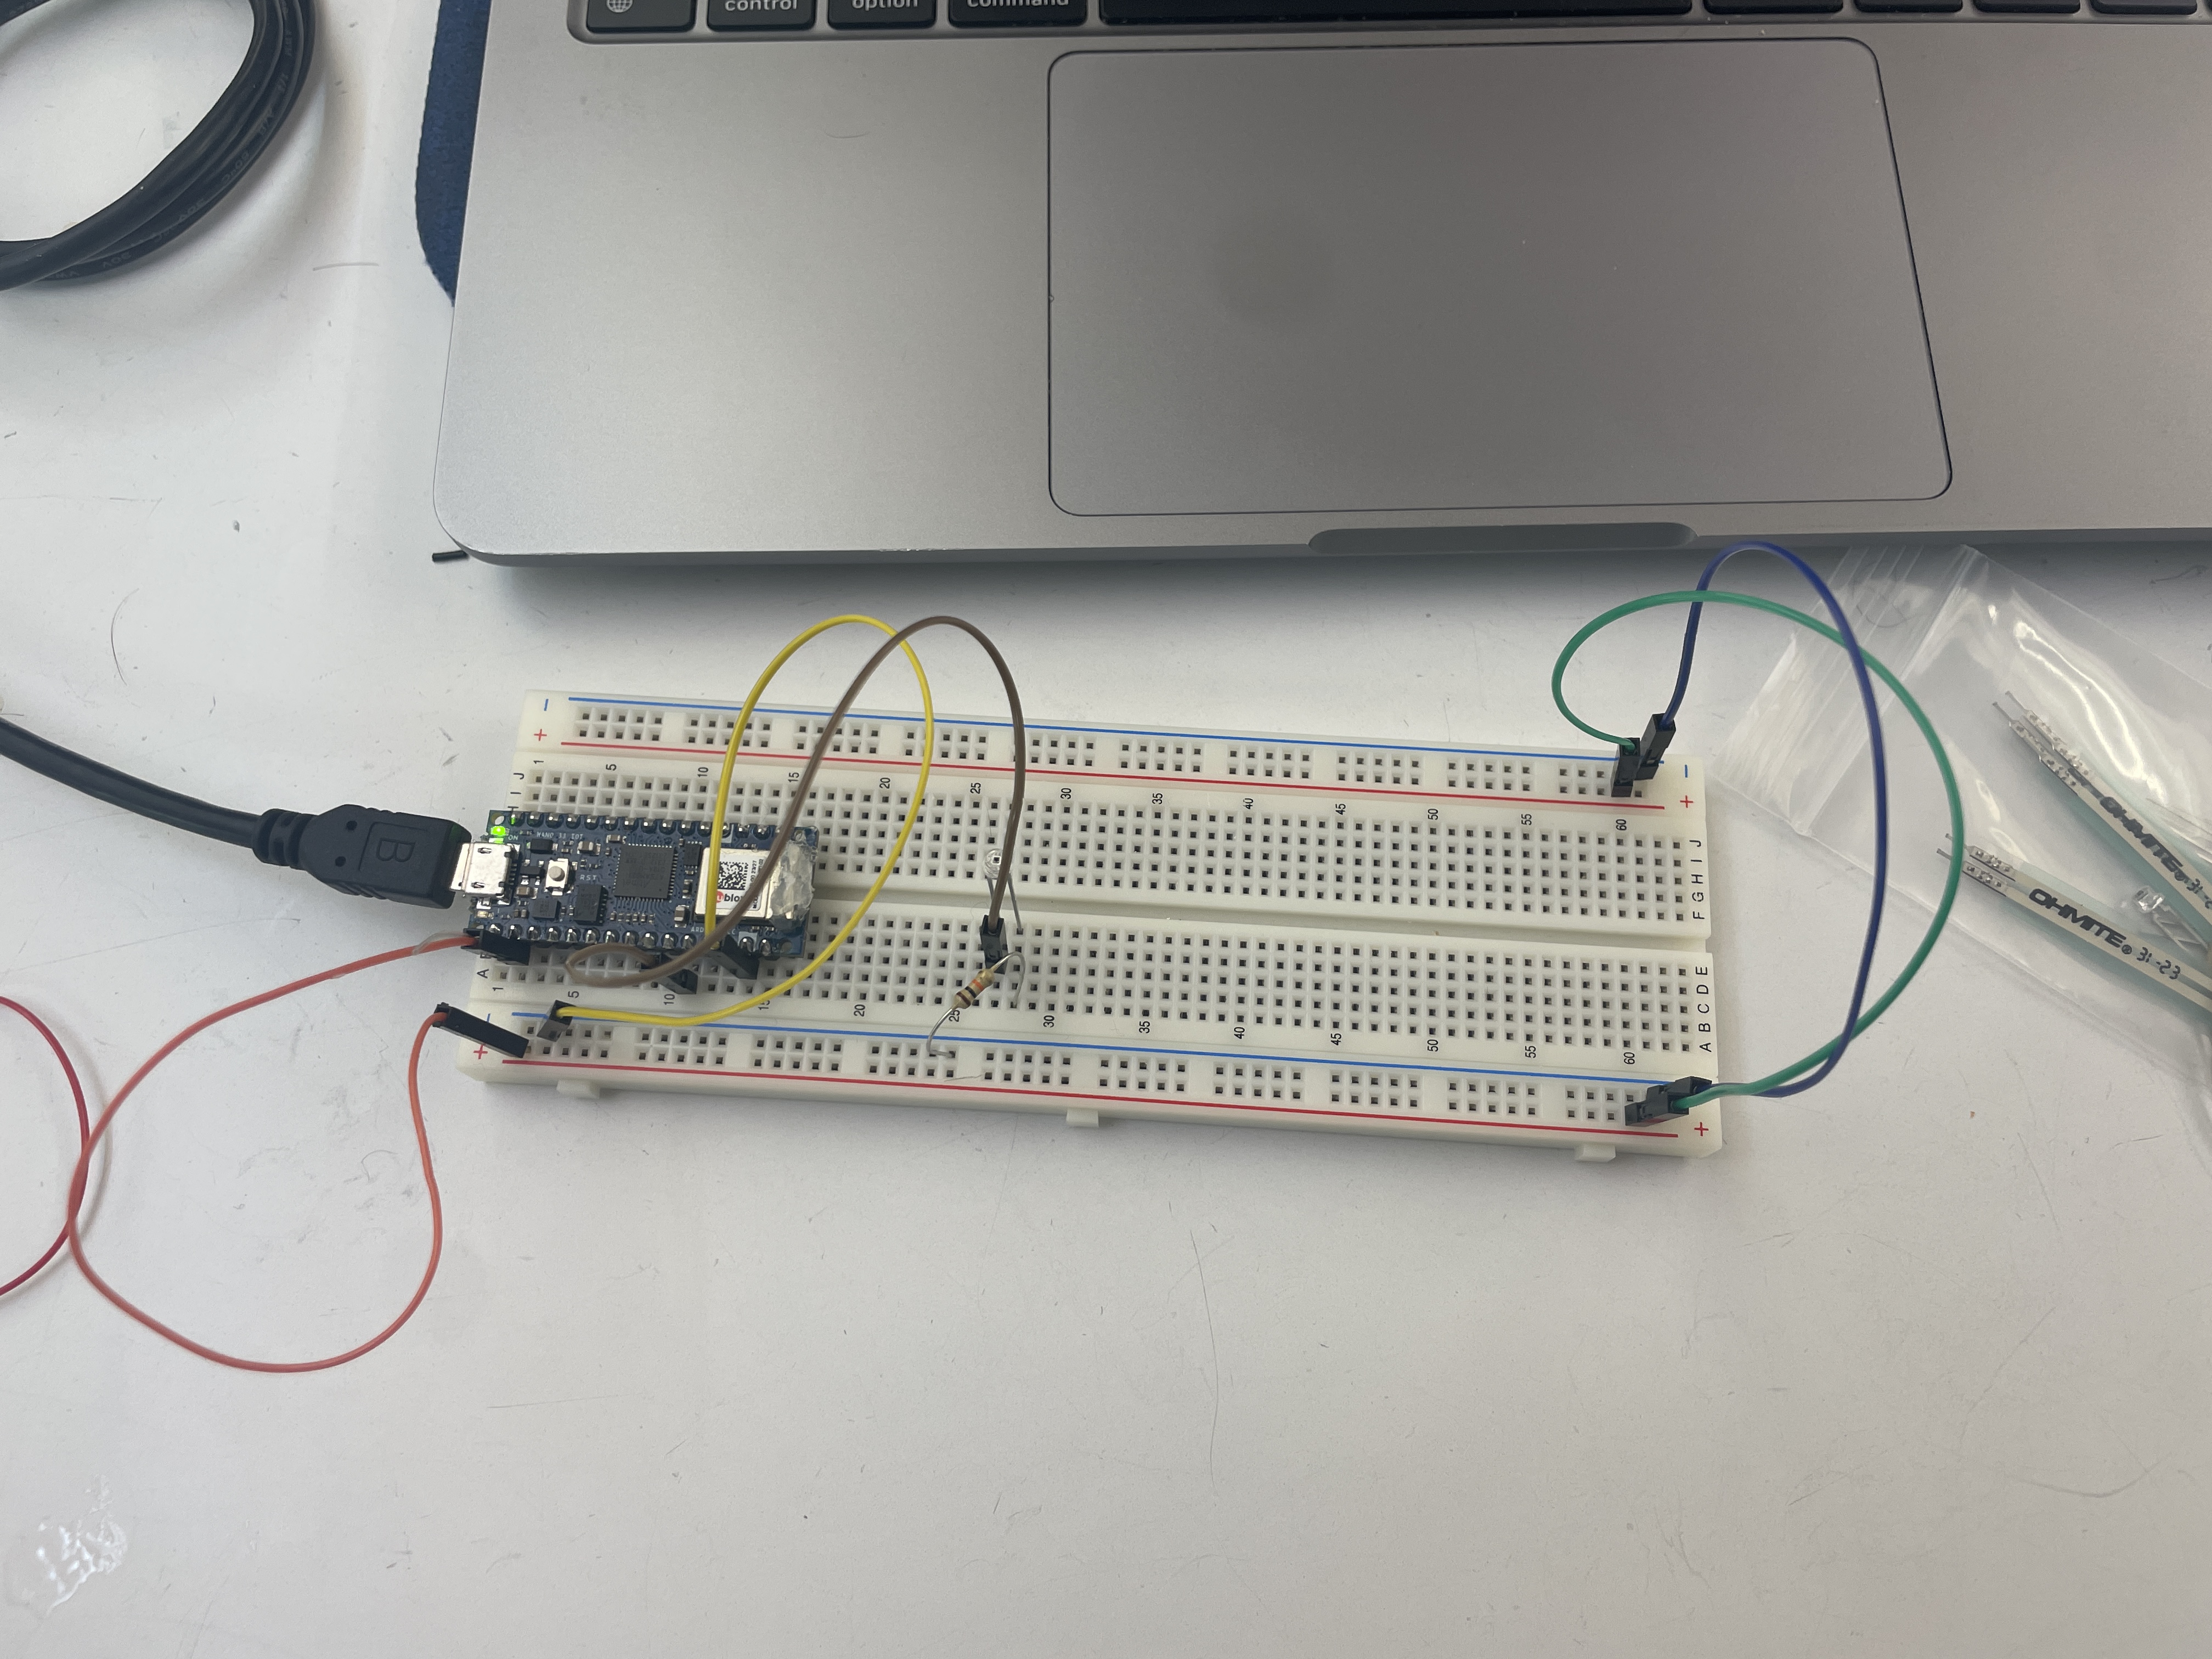 A simple phototransistor circuit
Throughout the labs, and likely for the rest of the semester, I will have to double check whether a sensor is analog or digital and make sure the values are being received properly in the microcontroller.
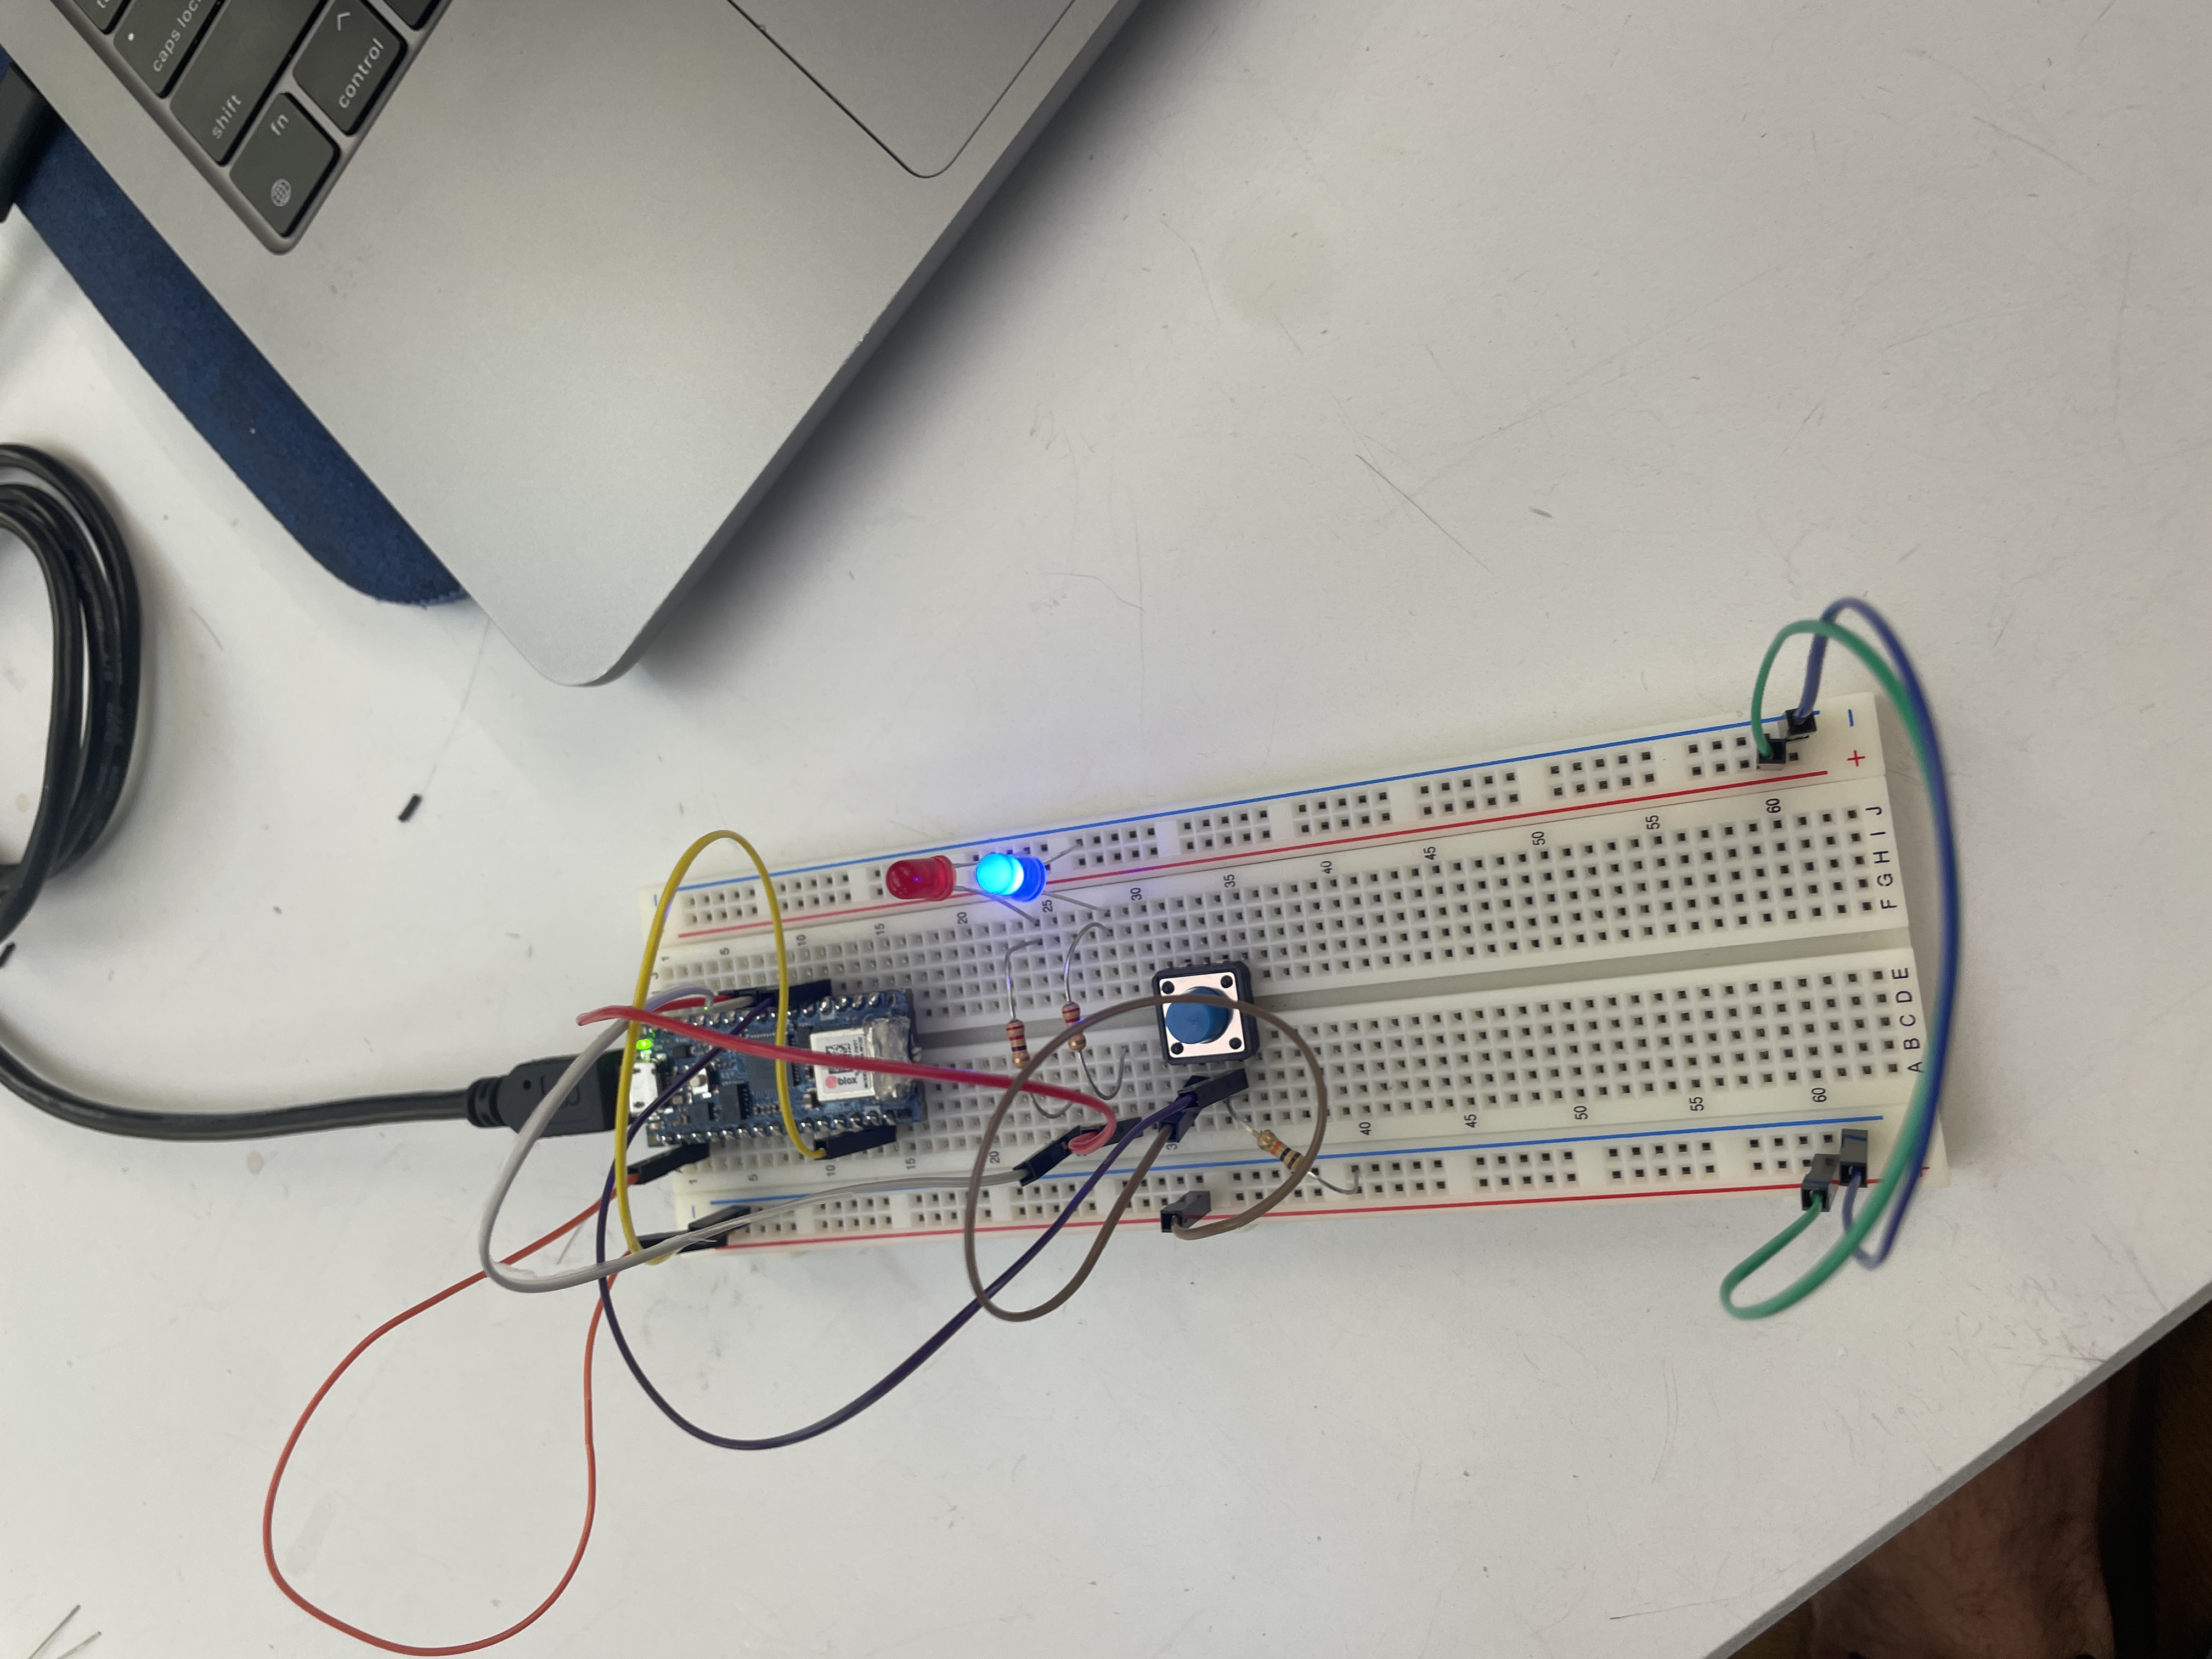 Simple circuit to toggle two LEDS
After setting up the circuit to toggle each light, I was curious how the system could be used to
portray three different states: off, LED 1, and LED 2. At first, when I wrote my code I noticed the
ending state was not following the counter enum I had written. That was until I remembered that in
P5.js, the draw() function is called 60 times a second and that the loop()
function likely acts similarly, so I added an extra boolean to only increment the counter when the
pressing boolean is false. The code could be further improved using a debounce function
(which I found an example for in the Arduino documentation).
                        int count;
                        bool pressing;
                        void setup() {
                            count = 0;
                            pressing = false;
                        }

                        void loop() {
                            if (digitalRead(2) == HIGH) {
                                if (!pressing) {
                                    pressing = true;
                                    count += 1;
                                    if (count >= 3) {
                                        count = 0;
                                    }
                                }
                            } else {
                                pressing = false;
                            }

                            if (count <= 0) {
                                digitalWrite(3, LOW);
                                digitalWrite(4, LOW);
                            } else if (count == 1) {
                                digitalWrite(3, HIGH);
                                digitalWrite(4, LOW);
                            } else if (count >= 2) {
                                digitalWrite(3, LOW);
                                digitalWrite(4, HIGH);
                            }
                        }
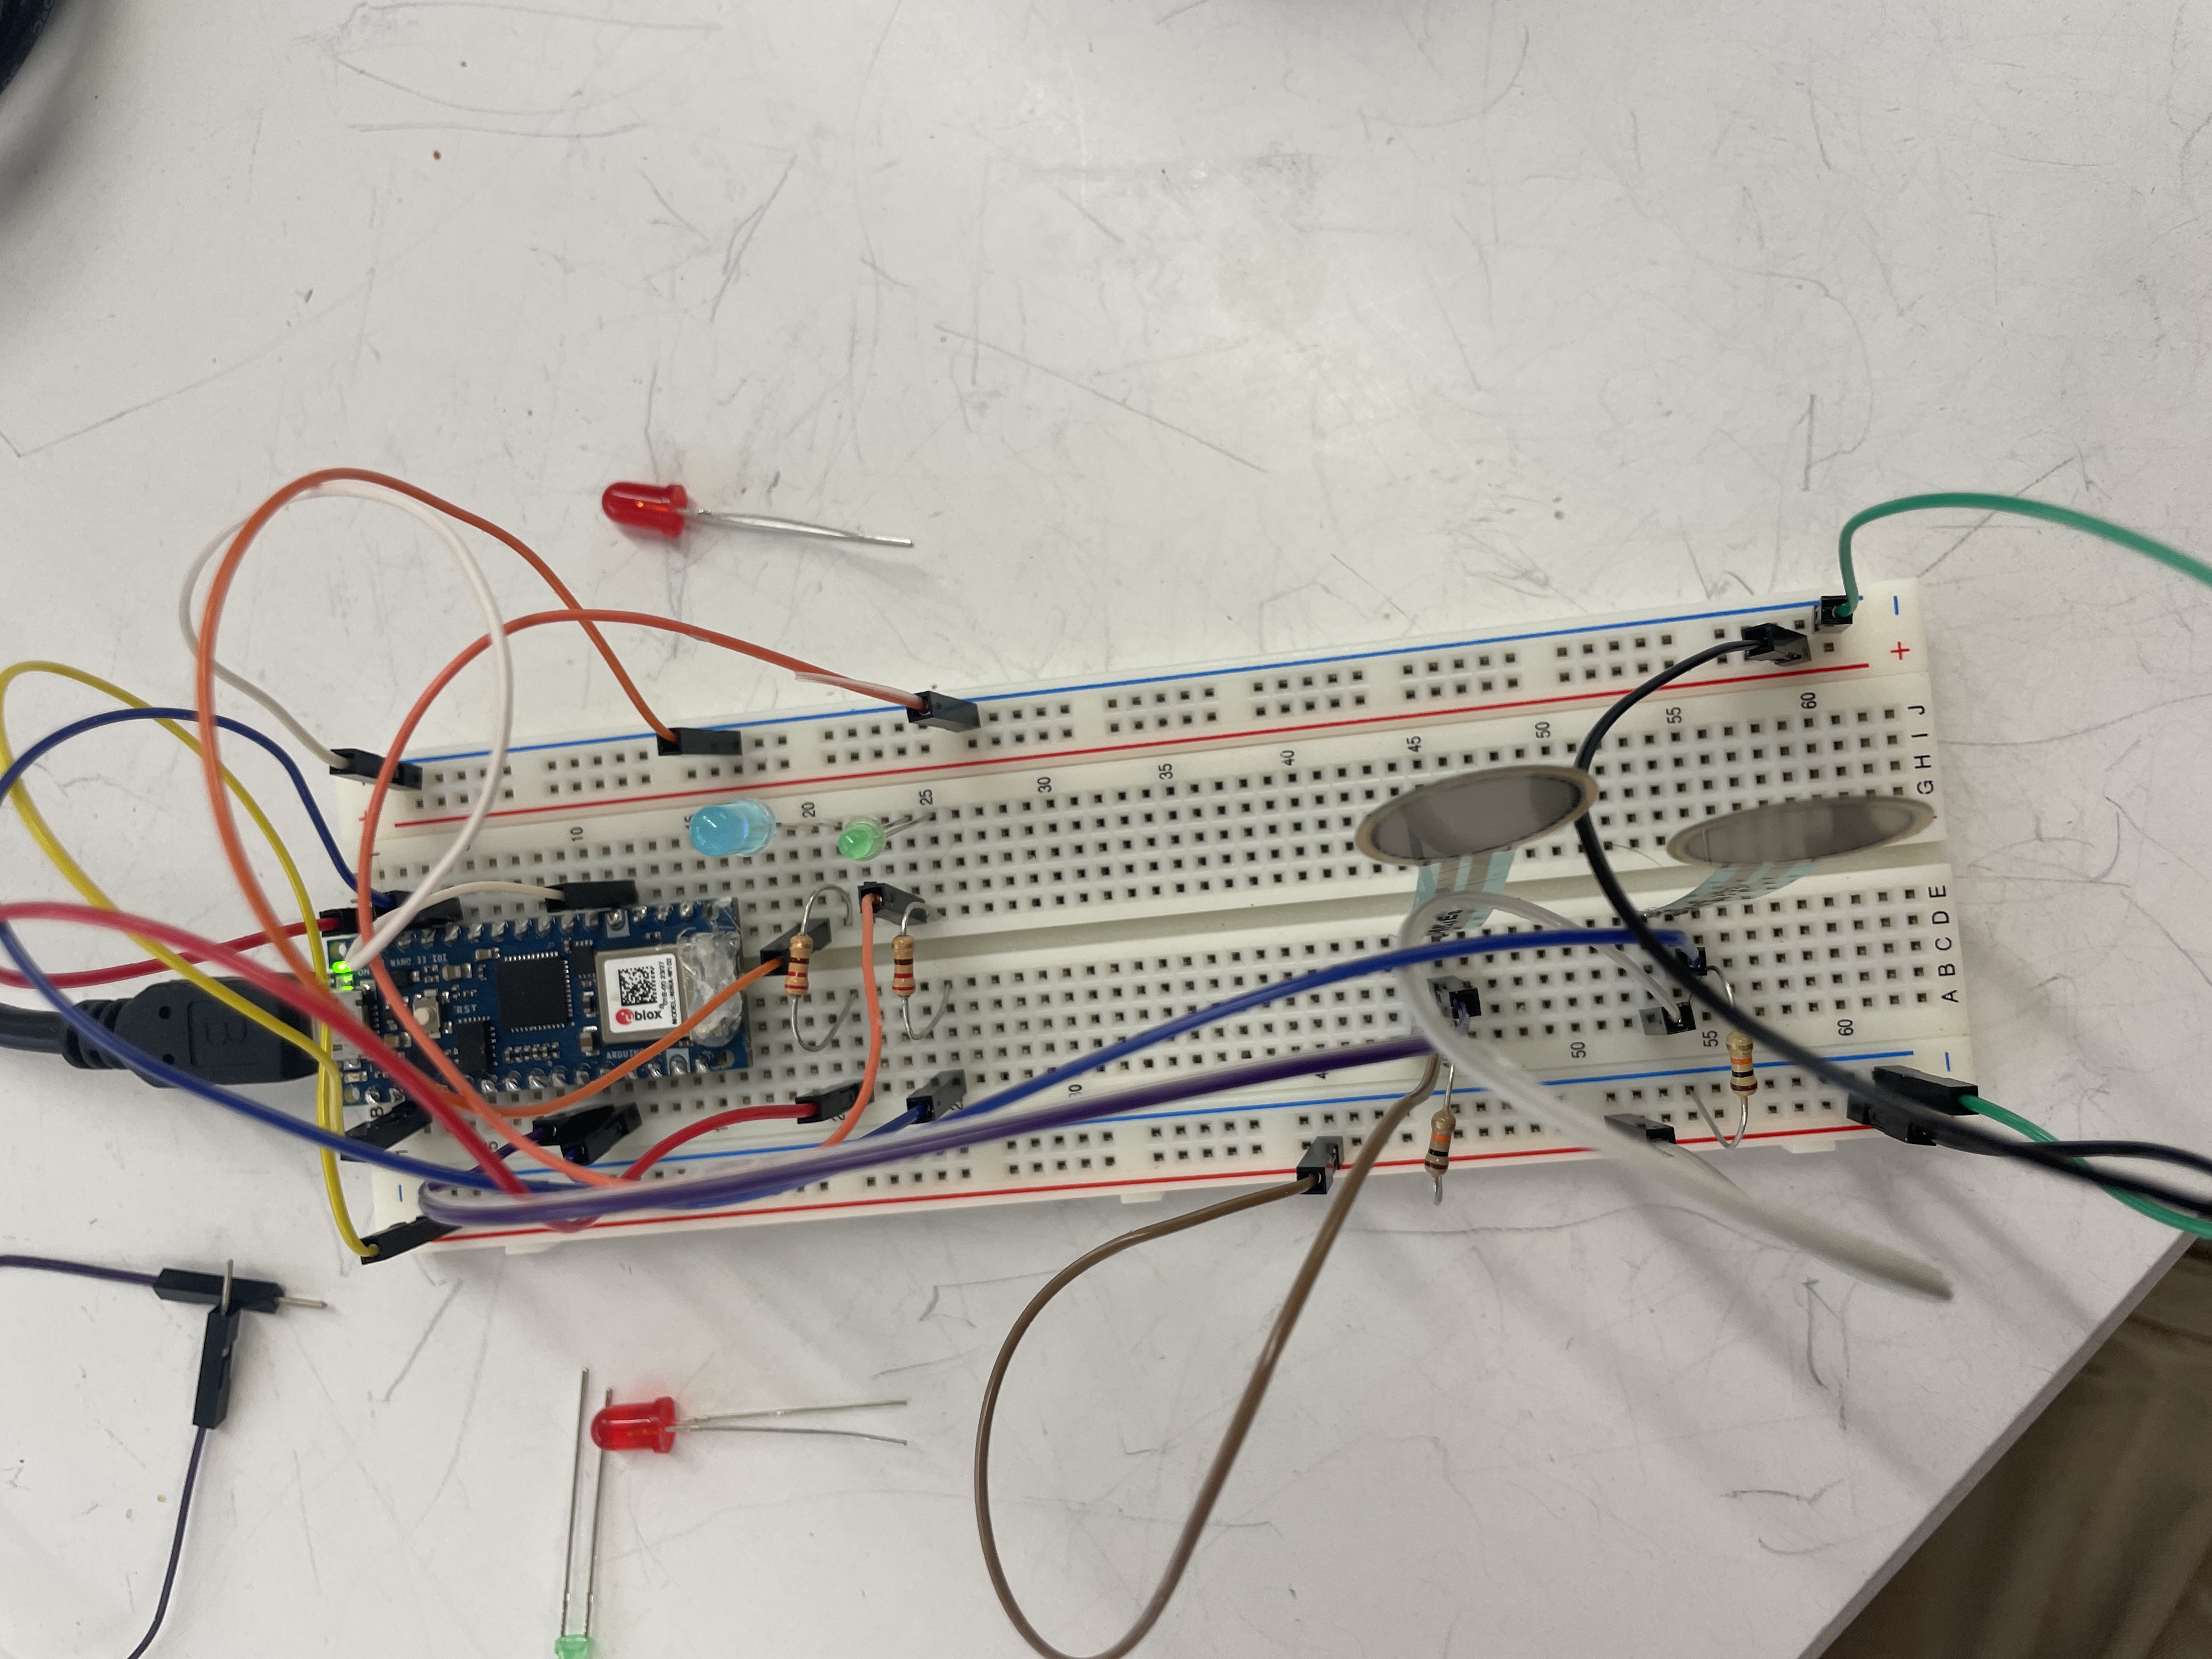 Two force sensors that controls the brightness of two LEDs
        const int ledPinOne = 10;
        const int ledPinTwo = 9;

        int analogValue = 0;
        int brightness = 0;

        void setup() { }

        void loop() {
            int leftForceSensor = analogRead(6);
            int rightForceSensor = analogRead(7);

            int leftLEDBrightness = map(leftForceSensor, 0, 1000, 0, 255);
            int rightLEDBrightness = map(rightForceSensor, 0, 1000, 0, 255);
            digitalWrite(ledPinOne, leftLEDBrightness);
            digitalWrite(ledPinTwo, rightLEDBrightness);
            Serial.println(rightLEDBrightness);
        }
In the force sensor circuit, I noticed both LEDs were very dim even when pressing on the force
sensor. Was this due to the system acting as a voltage divider, and/or should I have been setting
the values an an analogRead(...)?
Creating the force sensor circuit gave me a lot of ideas for systems I wanted to create (at some point in the future when I have more time). I also browsed the adafruit site to see all the available sensors I may be able to play around with one day.
- Matt Blanco