Week 1 - Intro to Box
Coming into this course the only fabrication experience and skills I had were from Boy Scouts, and even then I tried to use power tools as little as possible. Though going into ITP, I knew I wanted to challenge myself and actually improve my hands-on craft and fabrication skills. I already feel comfortable designing, and creating in digital spaces, but ultimately design is a physical craft so I want to be bable to create tangible artifacts.
After the first class session, I found a long piece of scrap wood to use to create my box. It had some marks and old screw holes, but it would do the job to help me feel more comfortable with the tools. Trimming the scrap would and using the bandsaw to cut the lid was straight-forward enough. The real challenge came when I had to hollow out the wood to turn it into something useable.
I struggled to tell how deep I was drilling into the wood. For each hole, after a few seconds the soon-to-be box filled up with sawdust and woodchips though in the end each new hole was not far off from the rest.
As I was drilling I came up with my theme for the course: Absurd. I had the dumb idea to create a second lid on the bottom of the box which would open to nothing. The more I worked on the box the more ideas I had to make it absurd, but to manage the course with the rest of my classes I kept the design fairly simple.
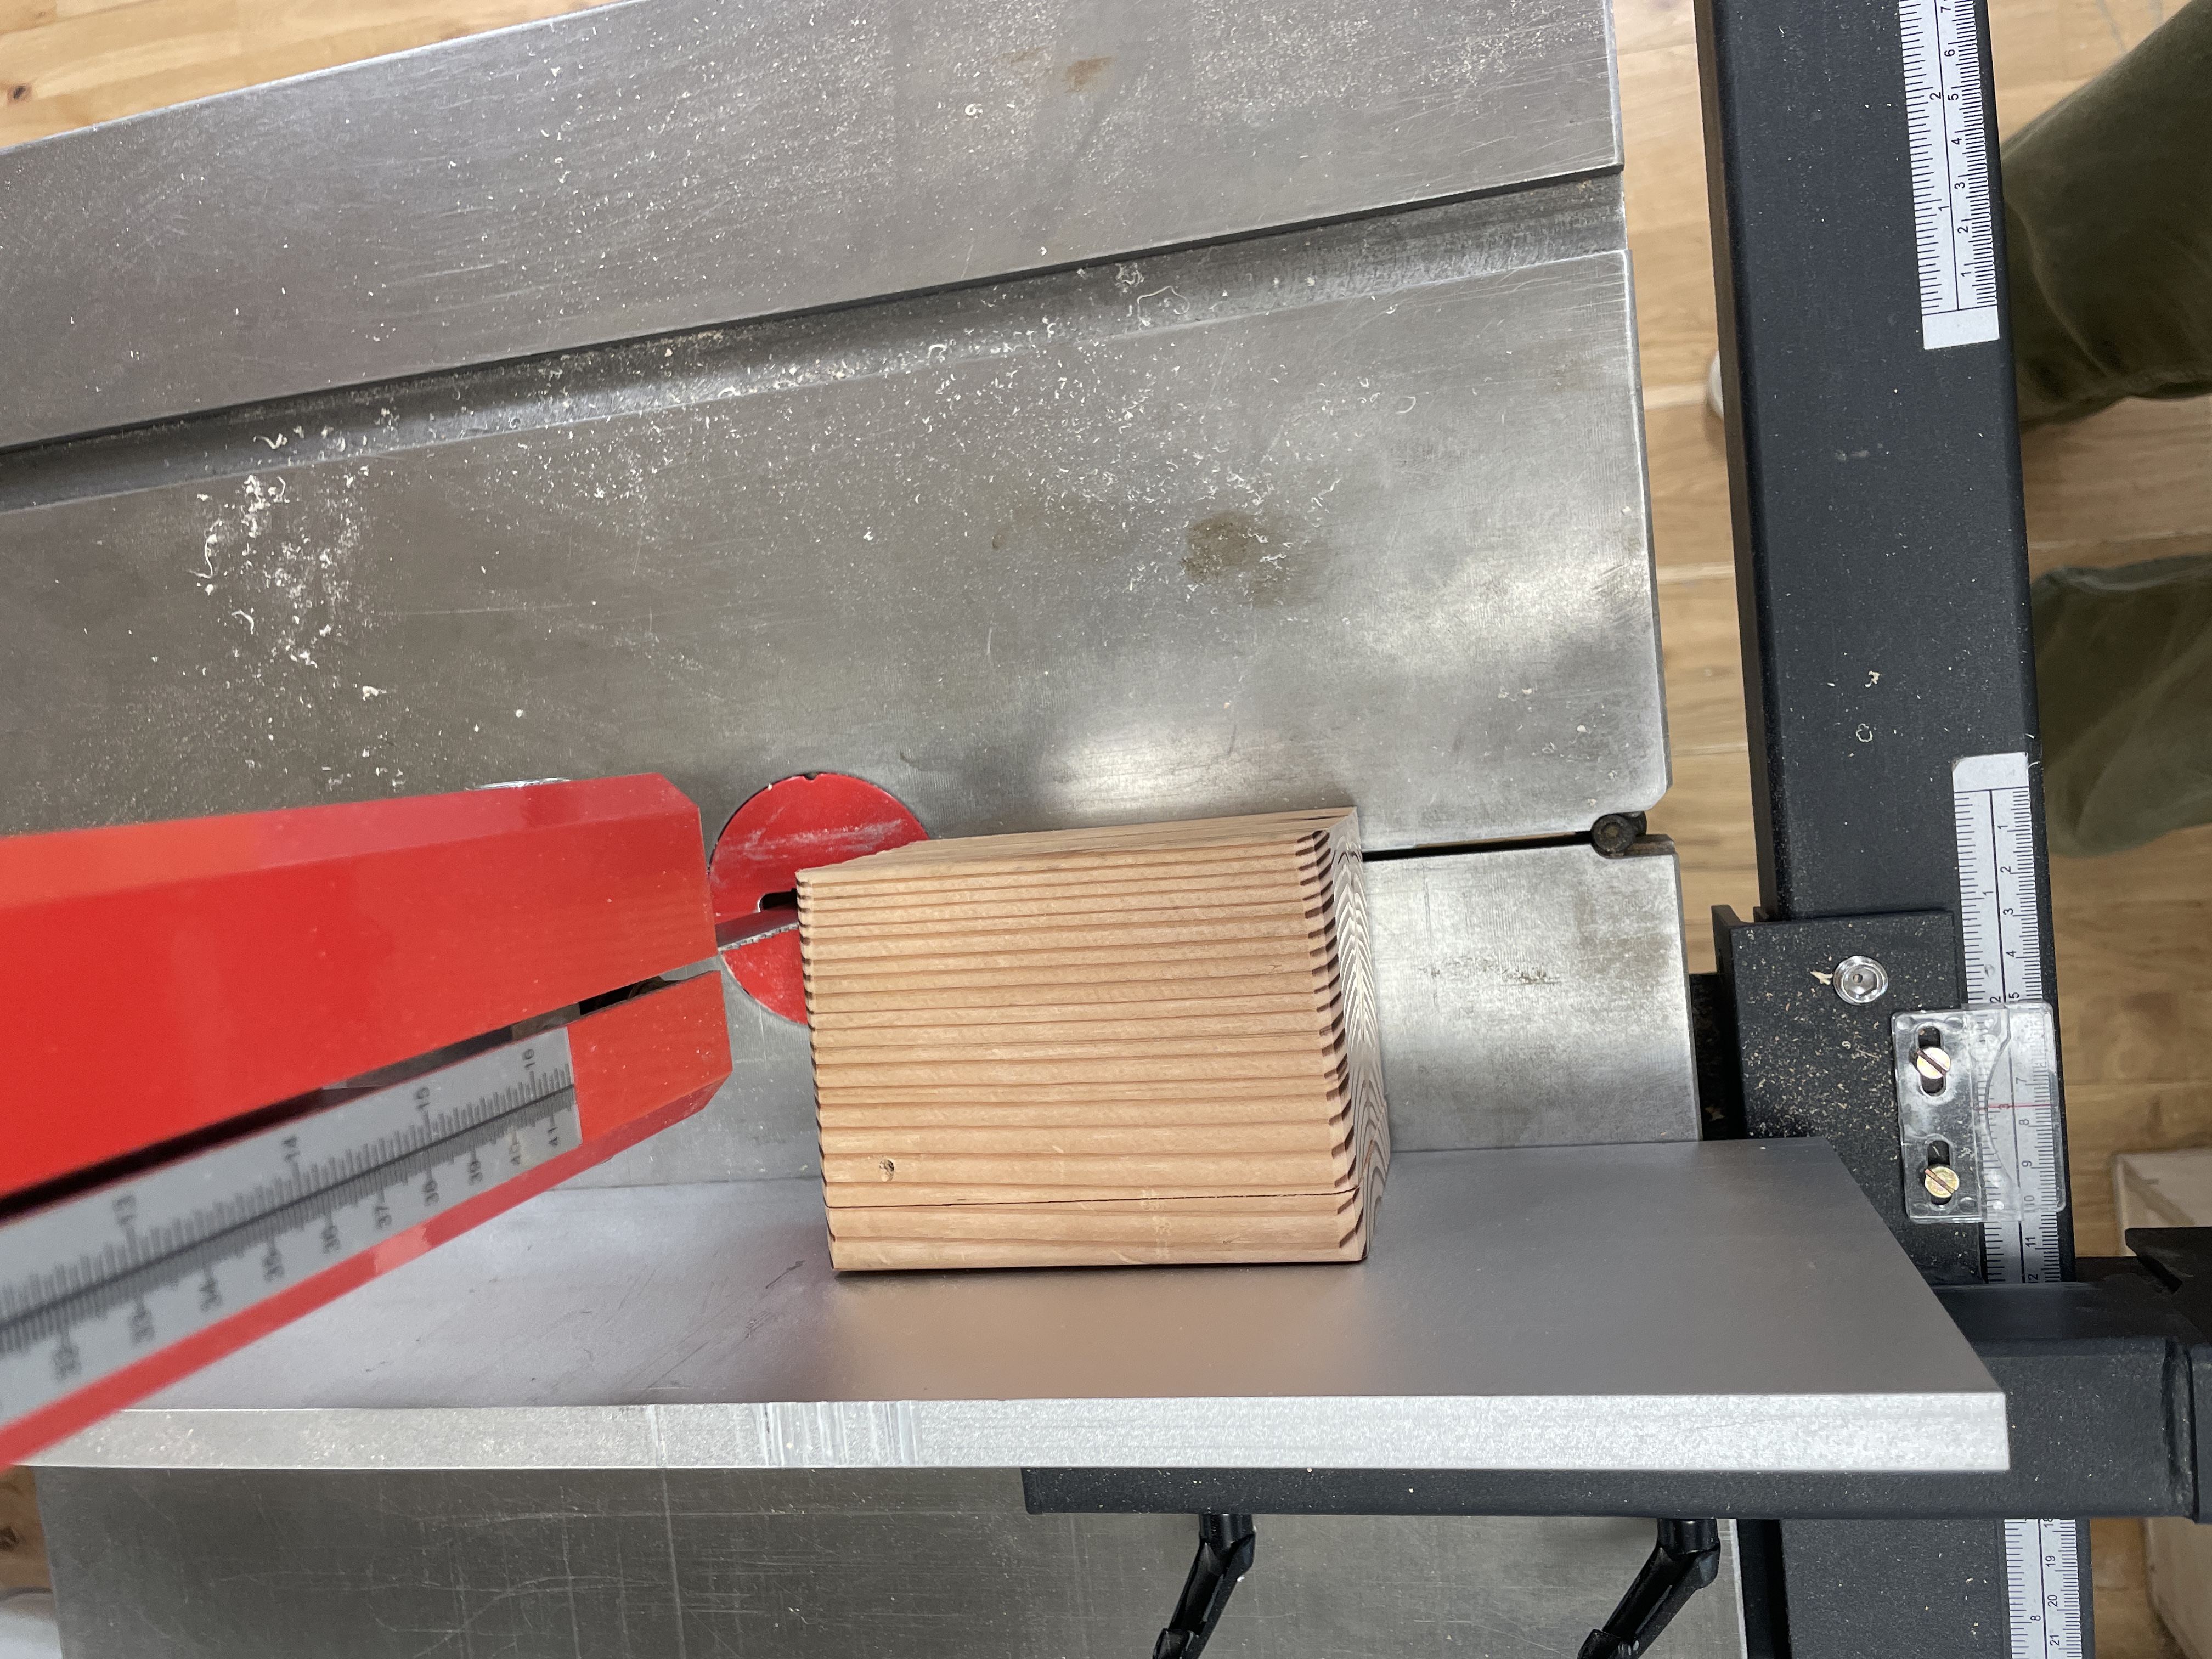 Cutting the false lid for the box
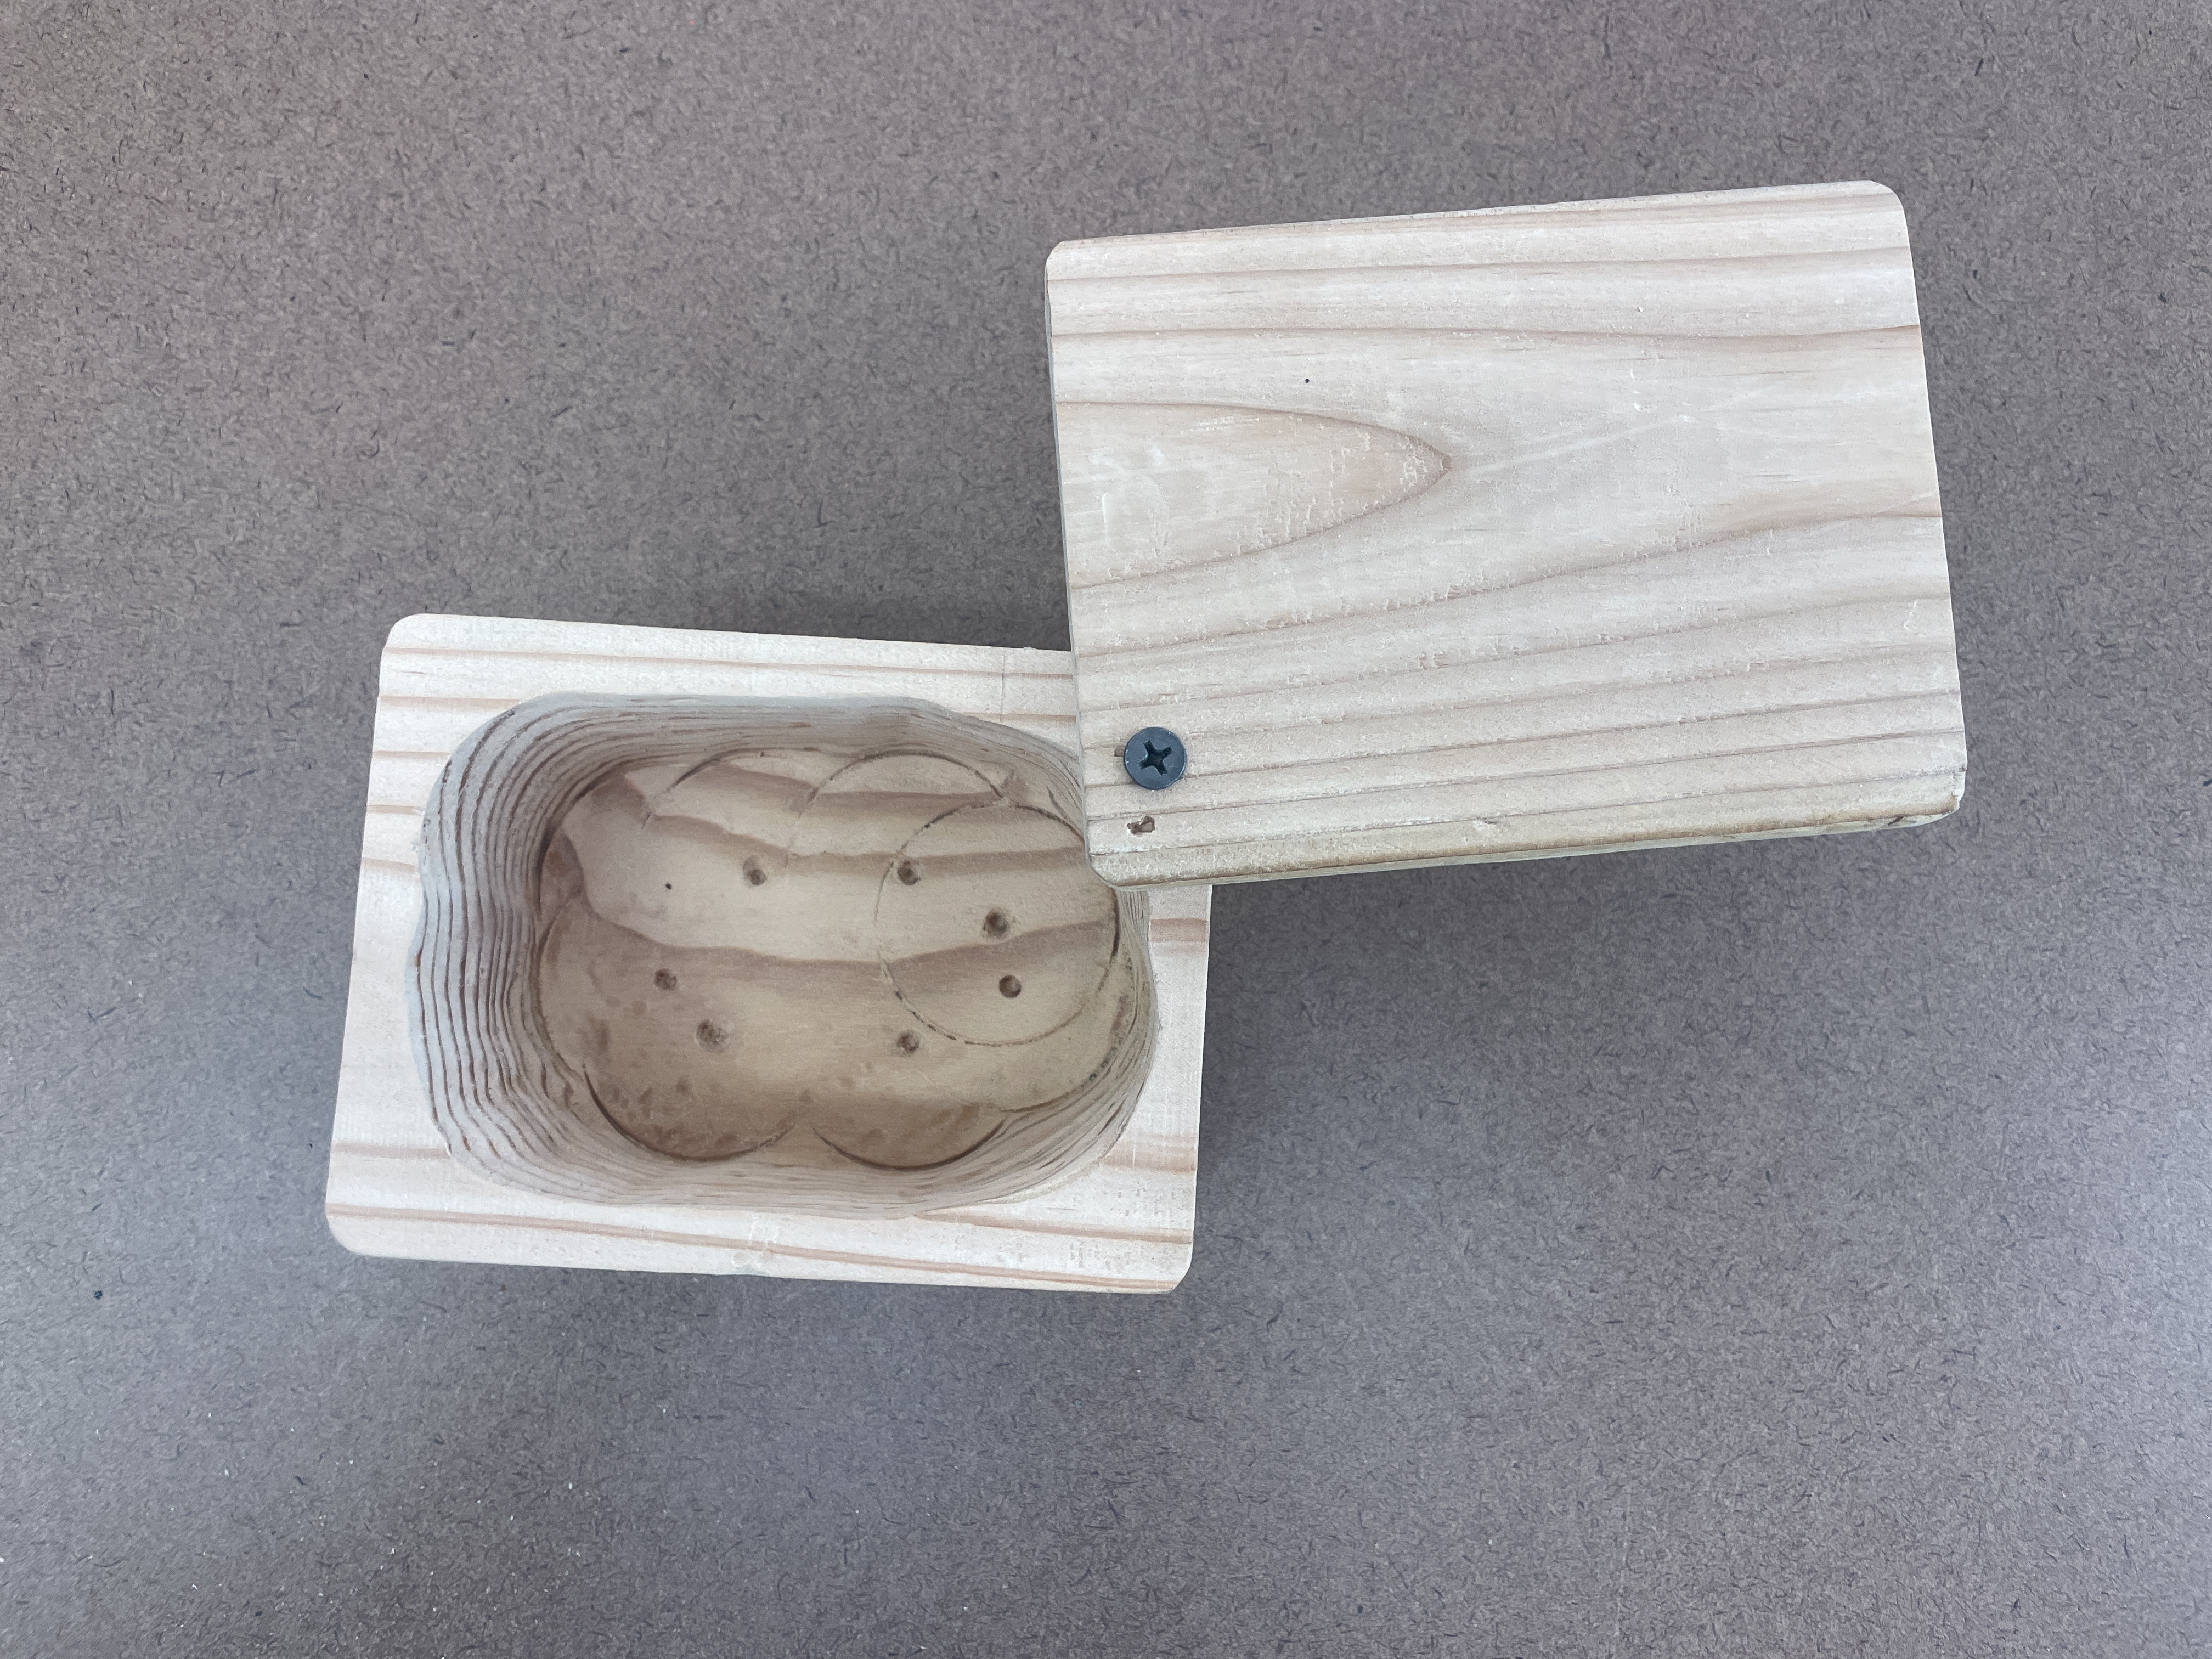
A tragedy occurred after creating the false lid: I realized I forgot to create a pivot point in the wood. I tried to drill a pivot hole into both the lid and box after the fact. However, after fitting in a screw the lid was misaligned my a couple millimeters. To fix the problem I just drilled a new pivot point in a different corner. taping the two pieces together and using a clamp to hold them in place while I used a hand drill. With all the other screw holes in the box the unused pivot hole would have to stay.
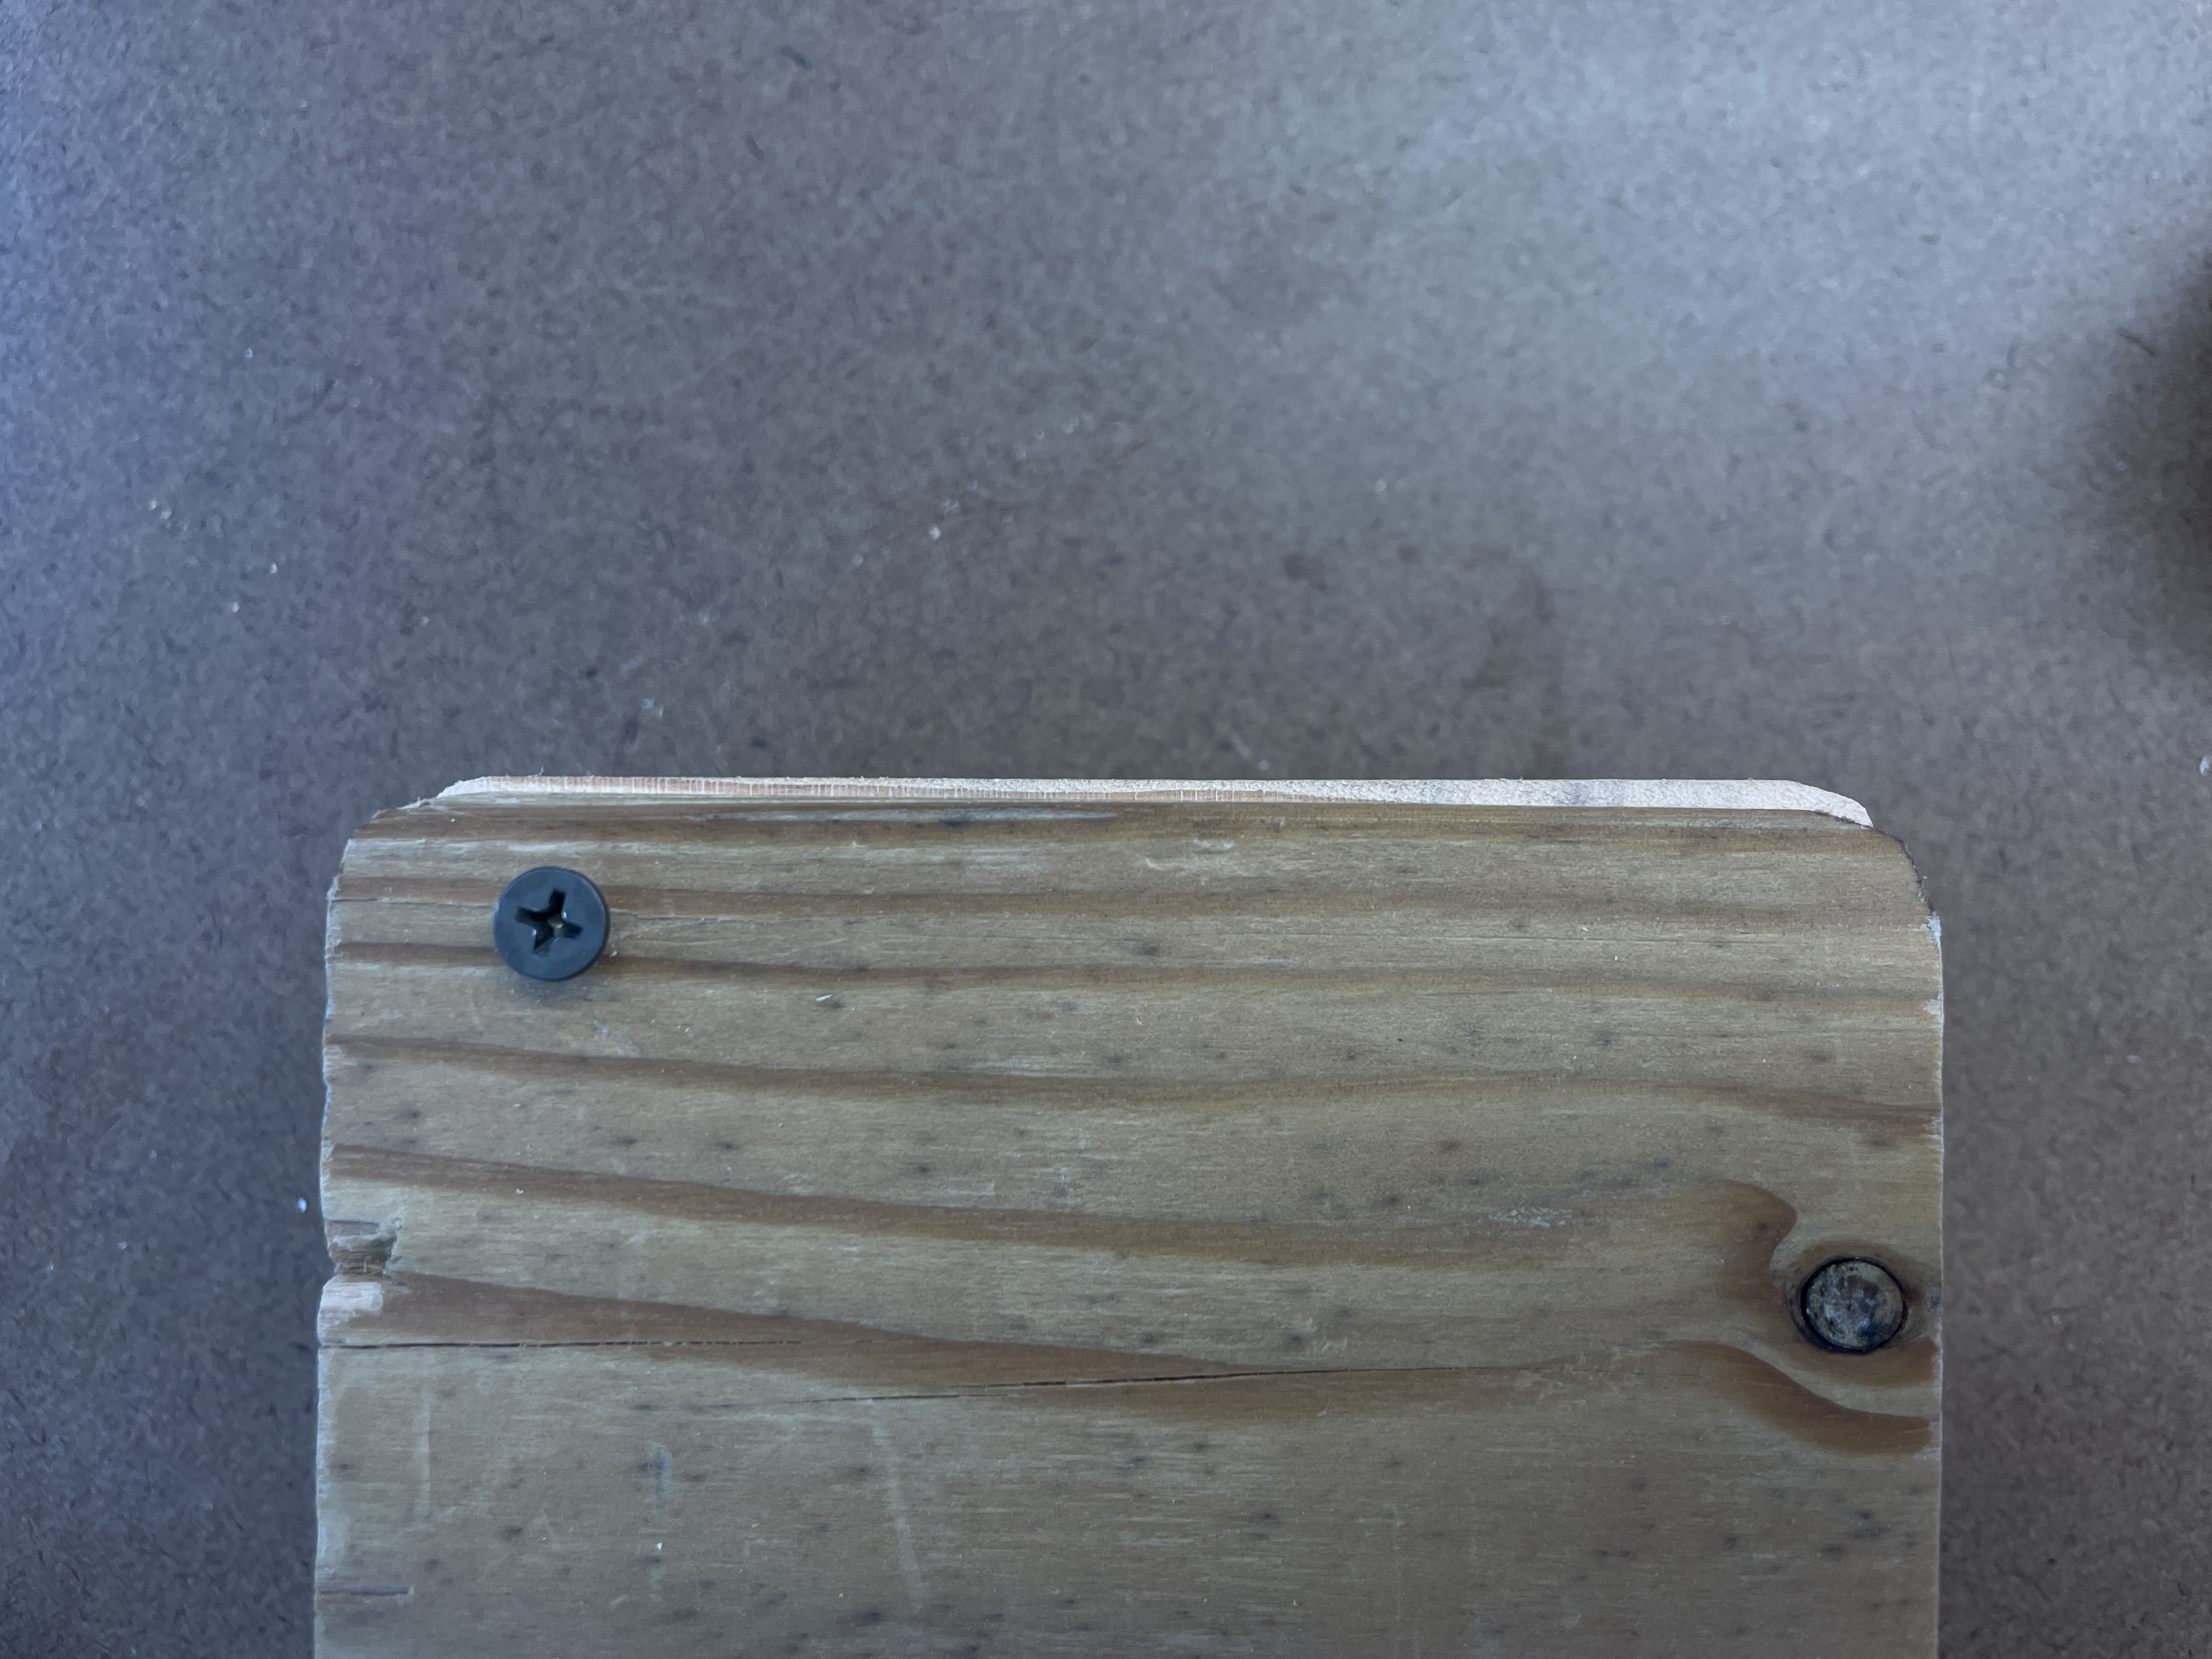 Misalignment between the box and false lid
Using a dremel, I did my best to even out the edges the inside of the box. Removing the sharp points left by the drill press and creating a smooth rounded rectangle shape. In hindsight, I could have drilled the initial holes in a more organized way to have a cleaner inside while I am still happy with the result. With guidance from Ian and since the initial drill press holes were uneven, I decided to use the dremel again on the bottom of the box. After seemingly endless dremeling, the interior of the box was even enough to begin hand sanding the box. First using.a low grit paper and then a higher grit paper to smooth out the edges. I did my best to smooth out the rest of the interior.
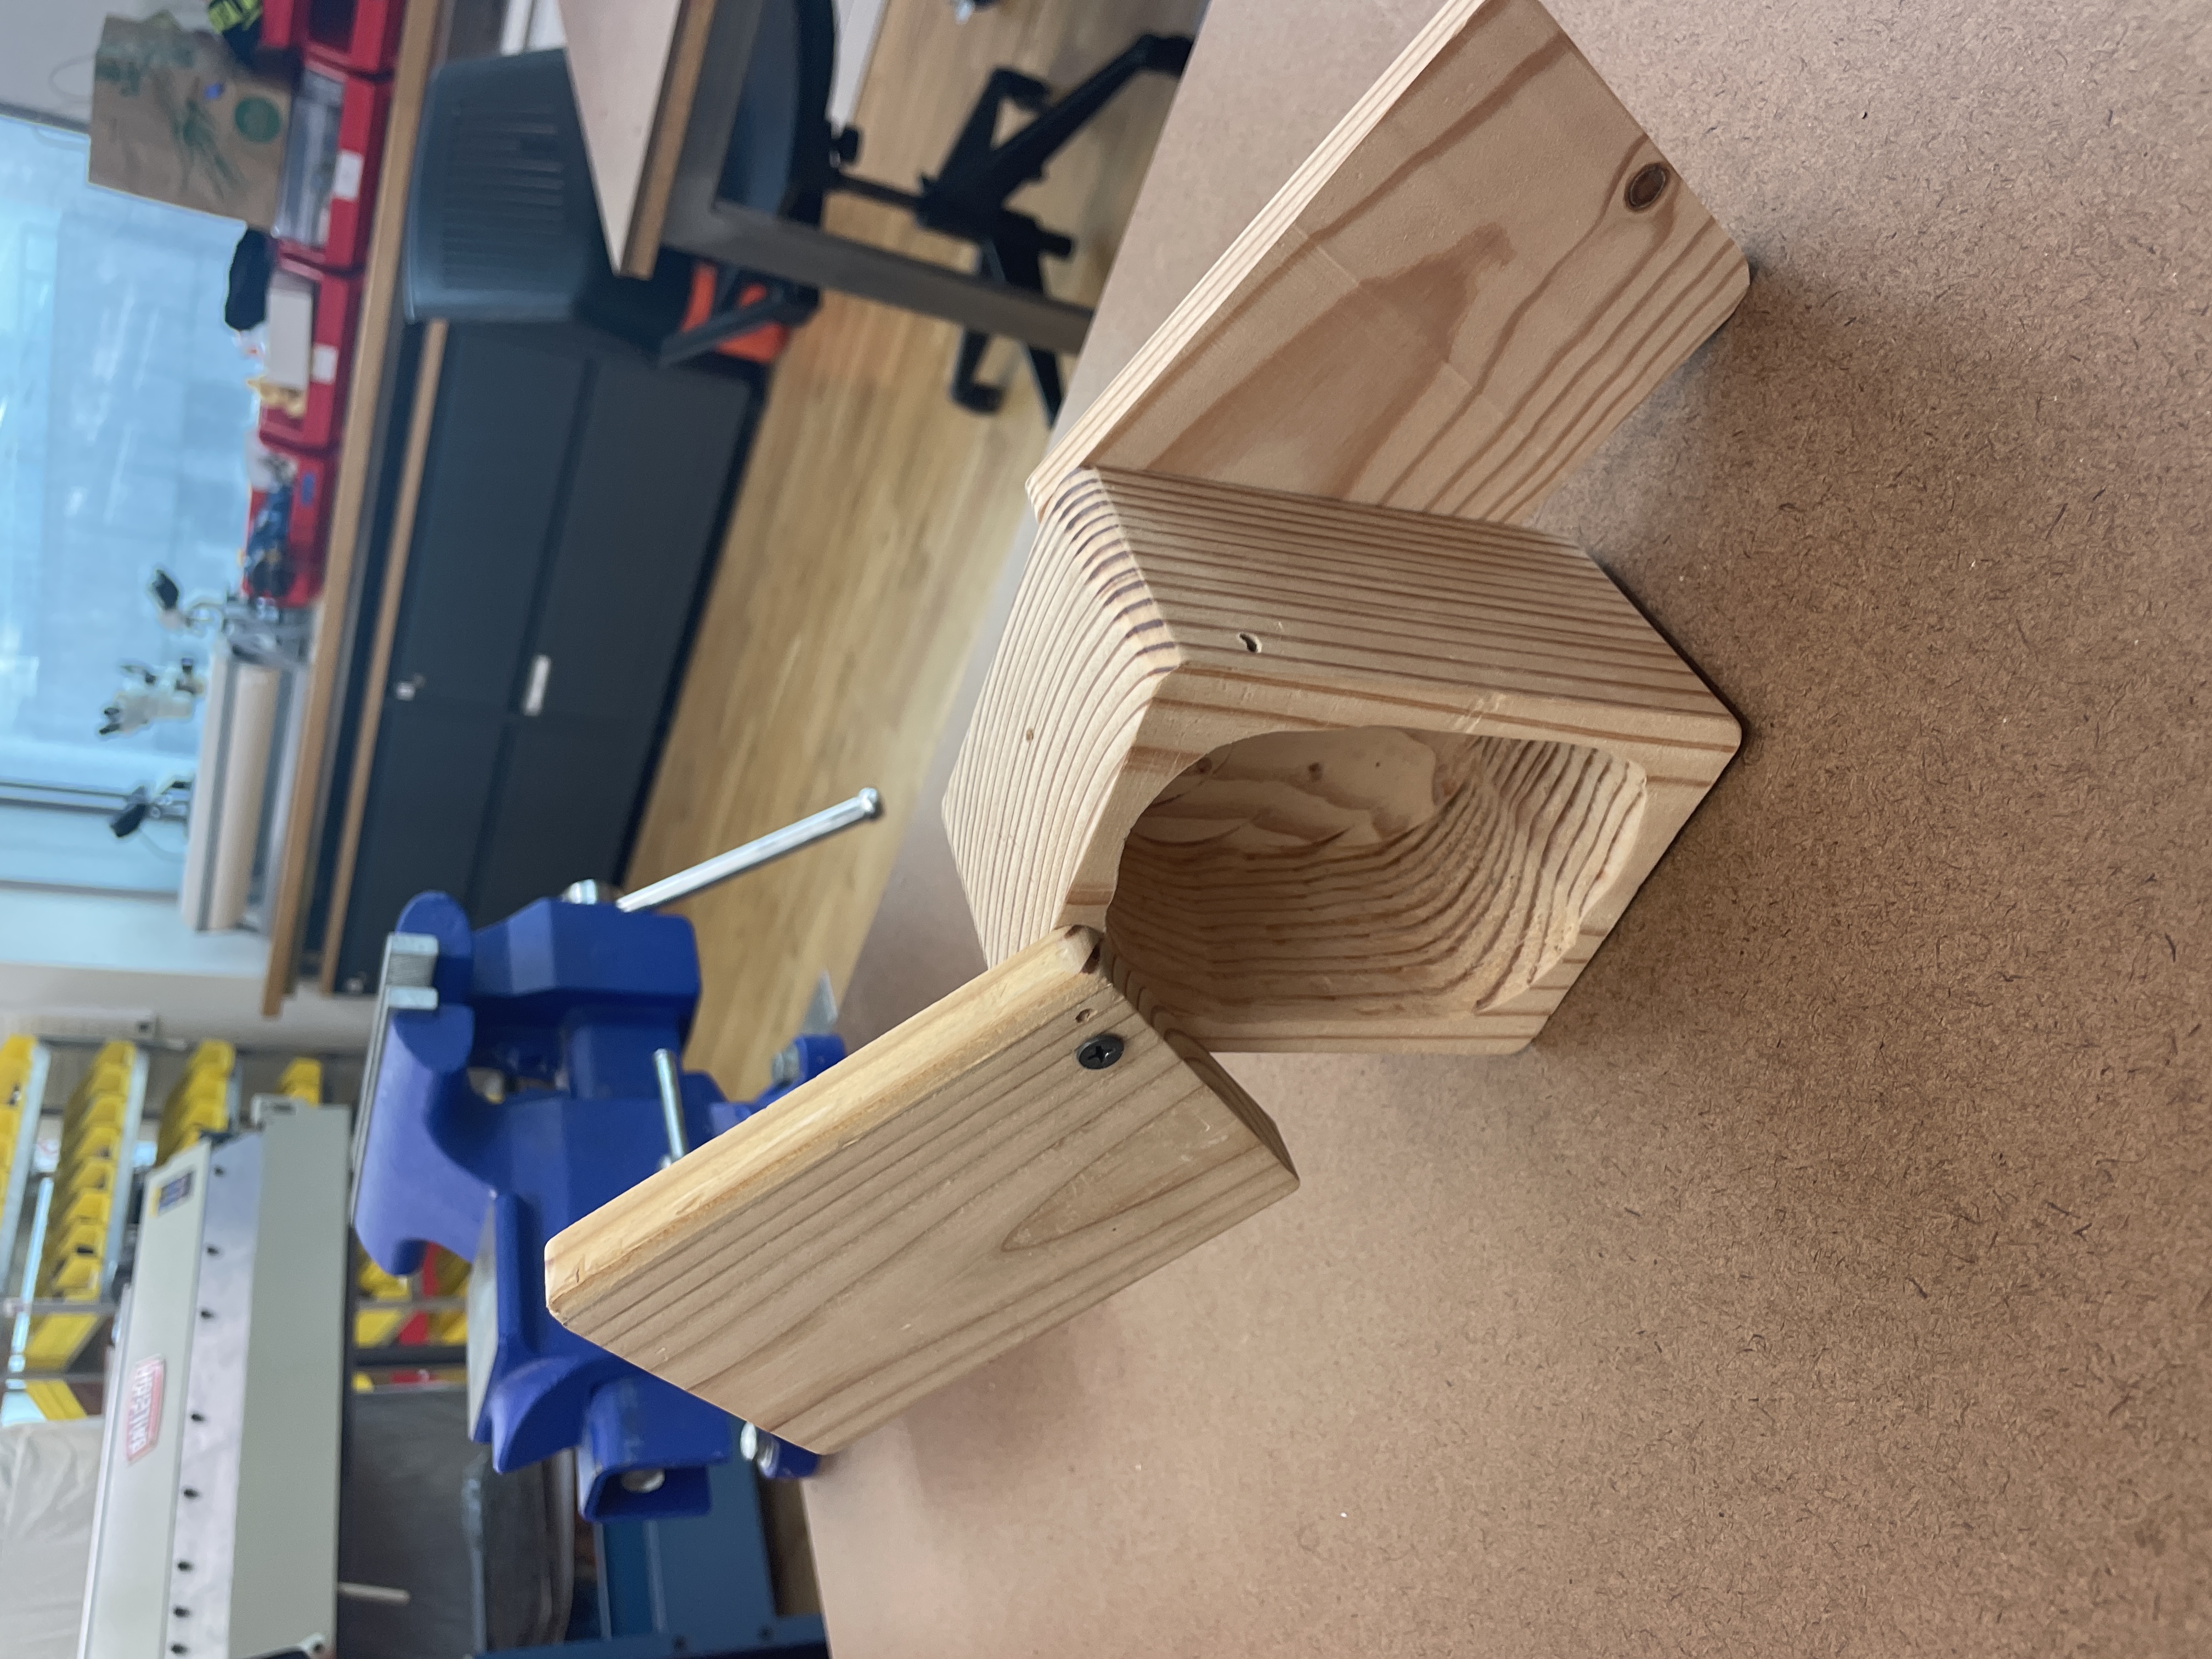 Front view of the finished box
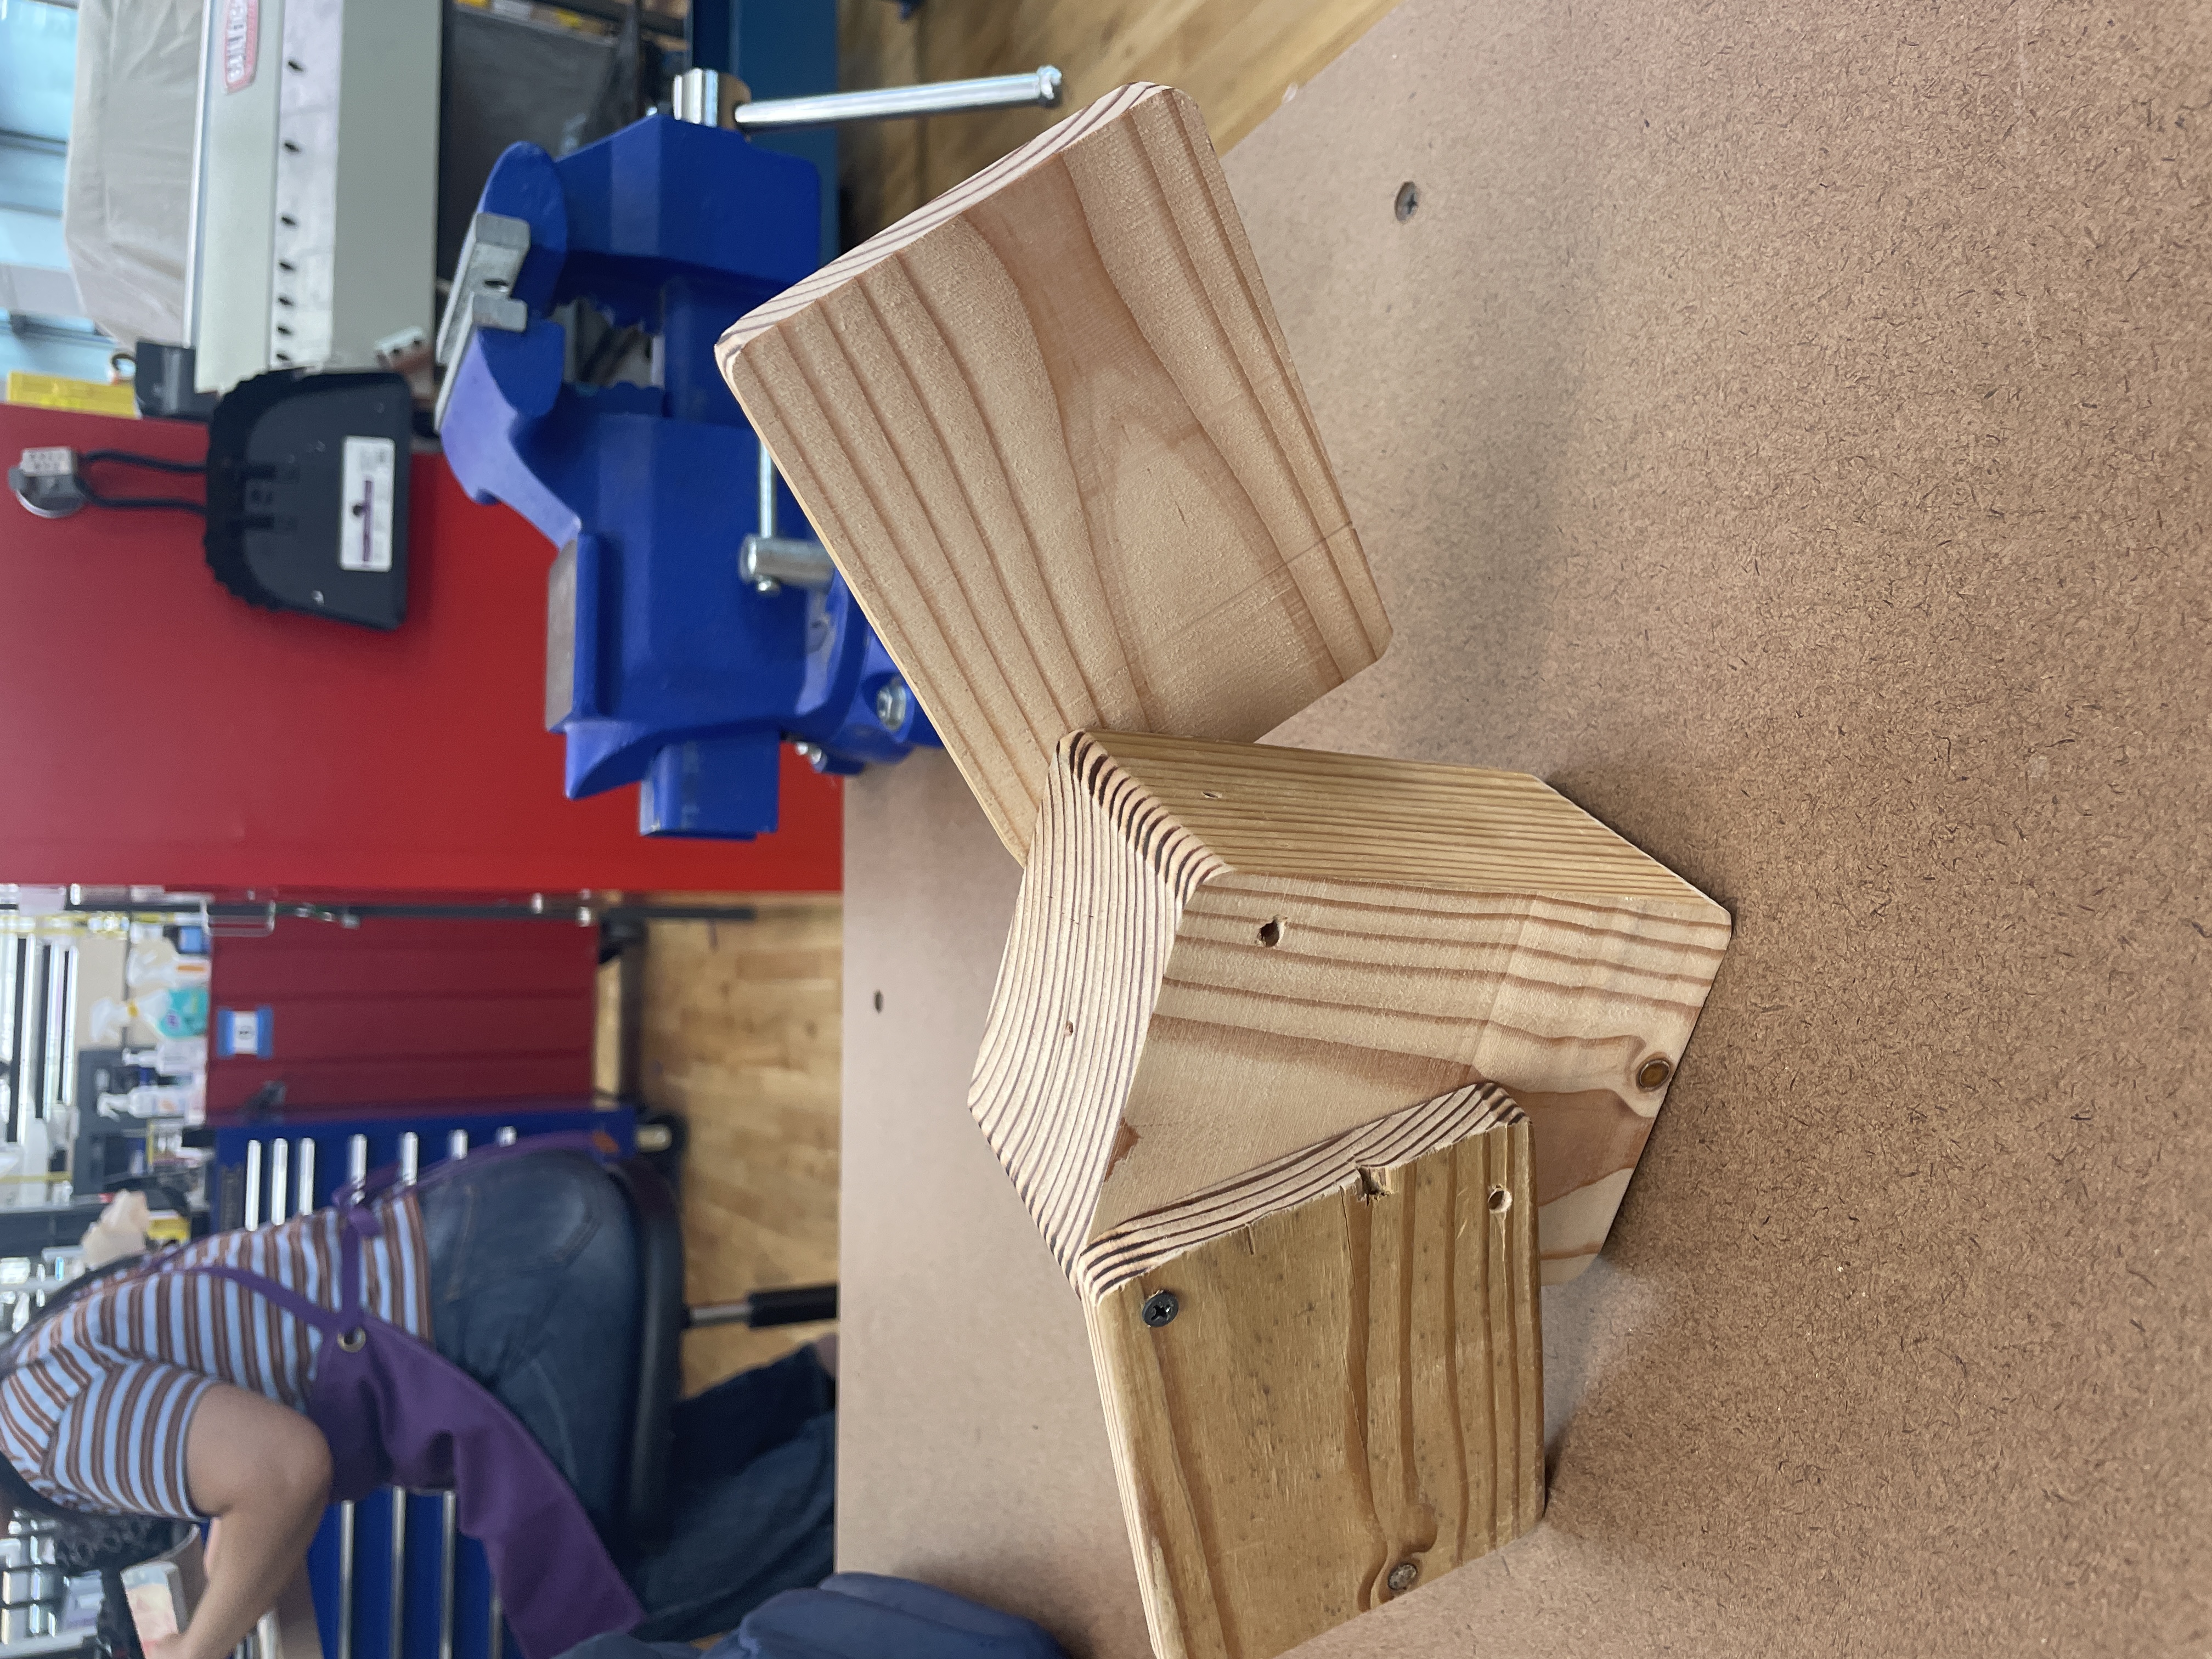 Back view of the finished box
 Initial sketch of the box before fabricating
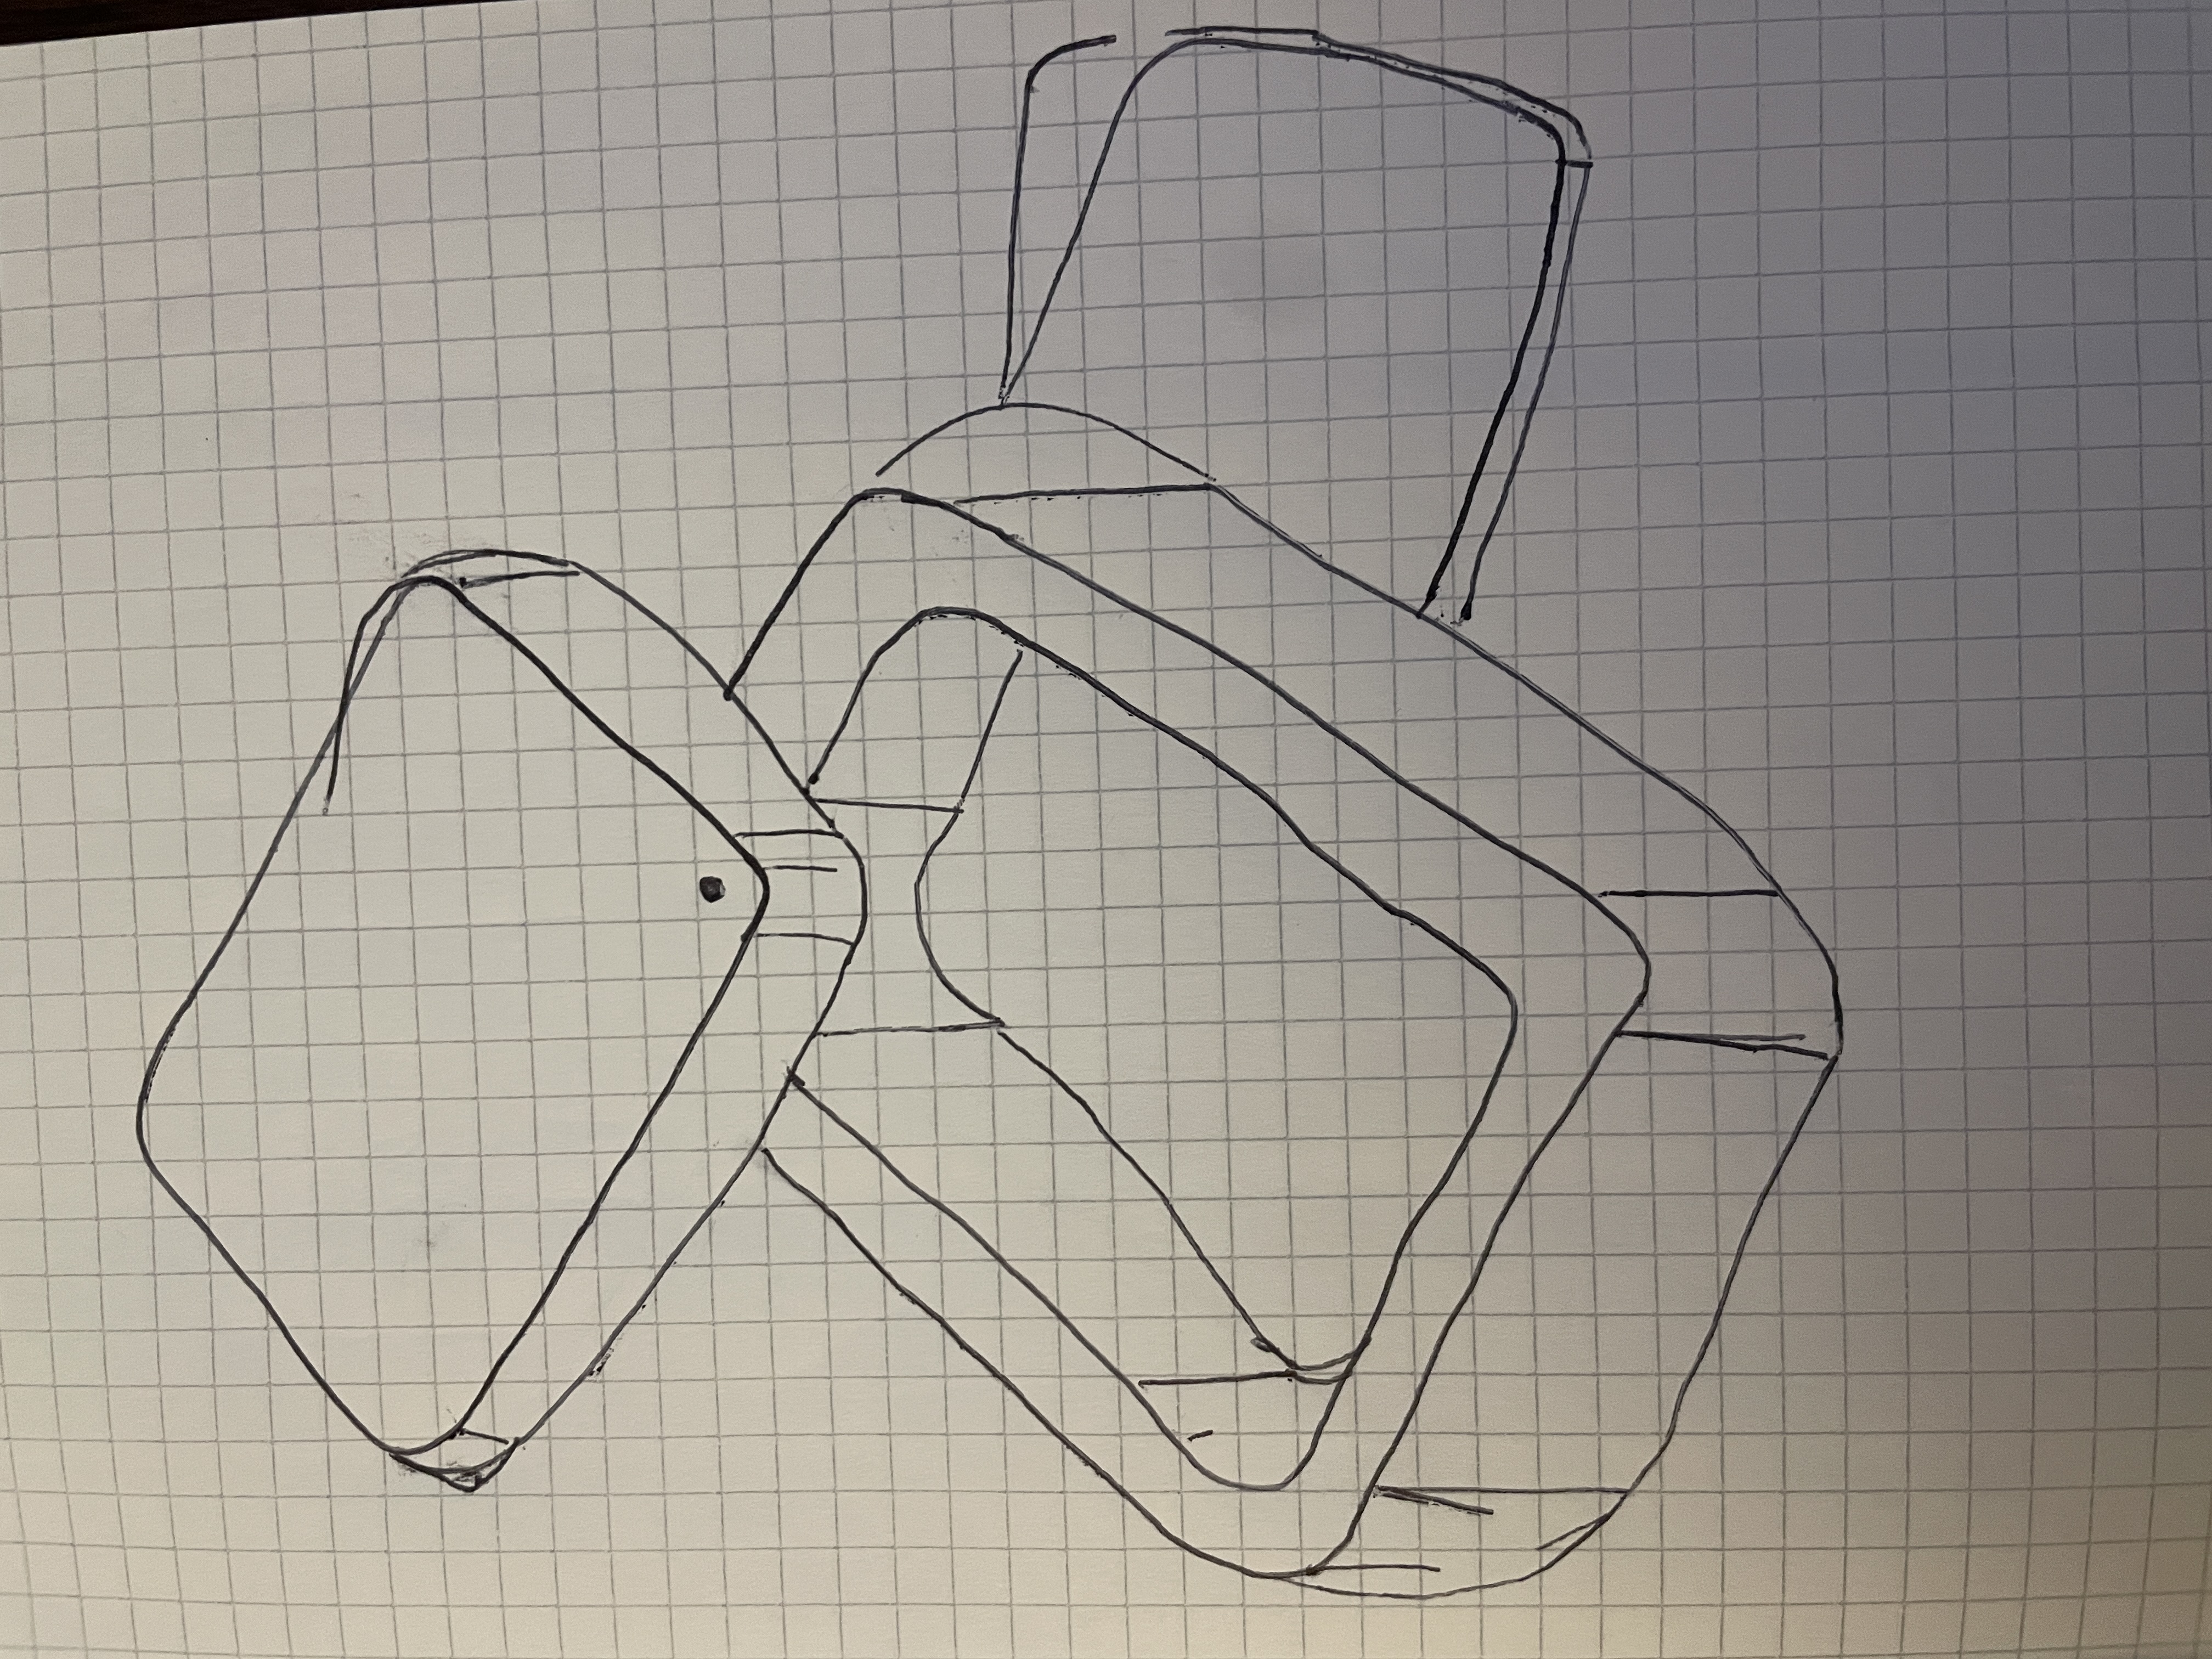 Sketch of the box after fabricating
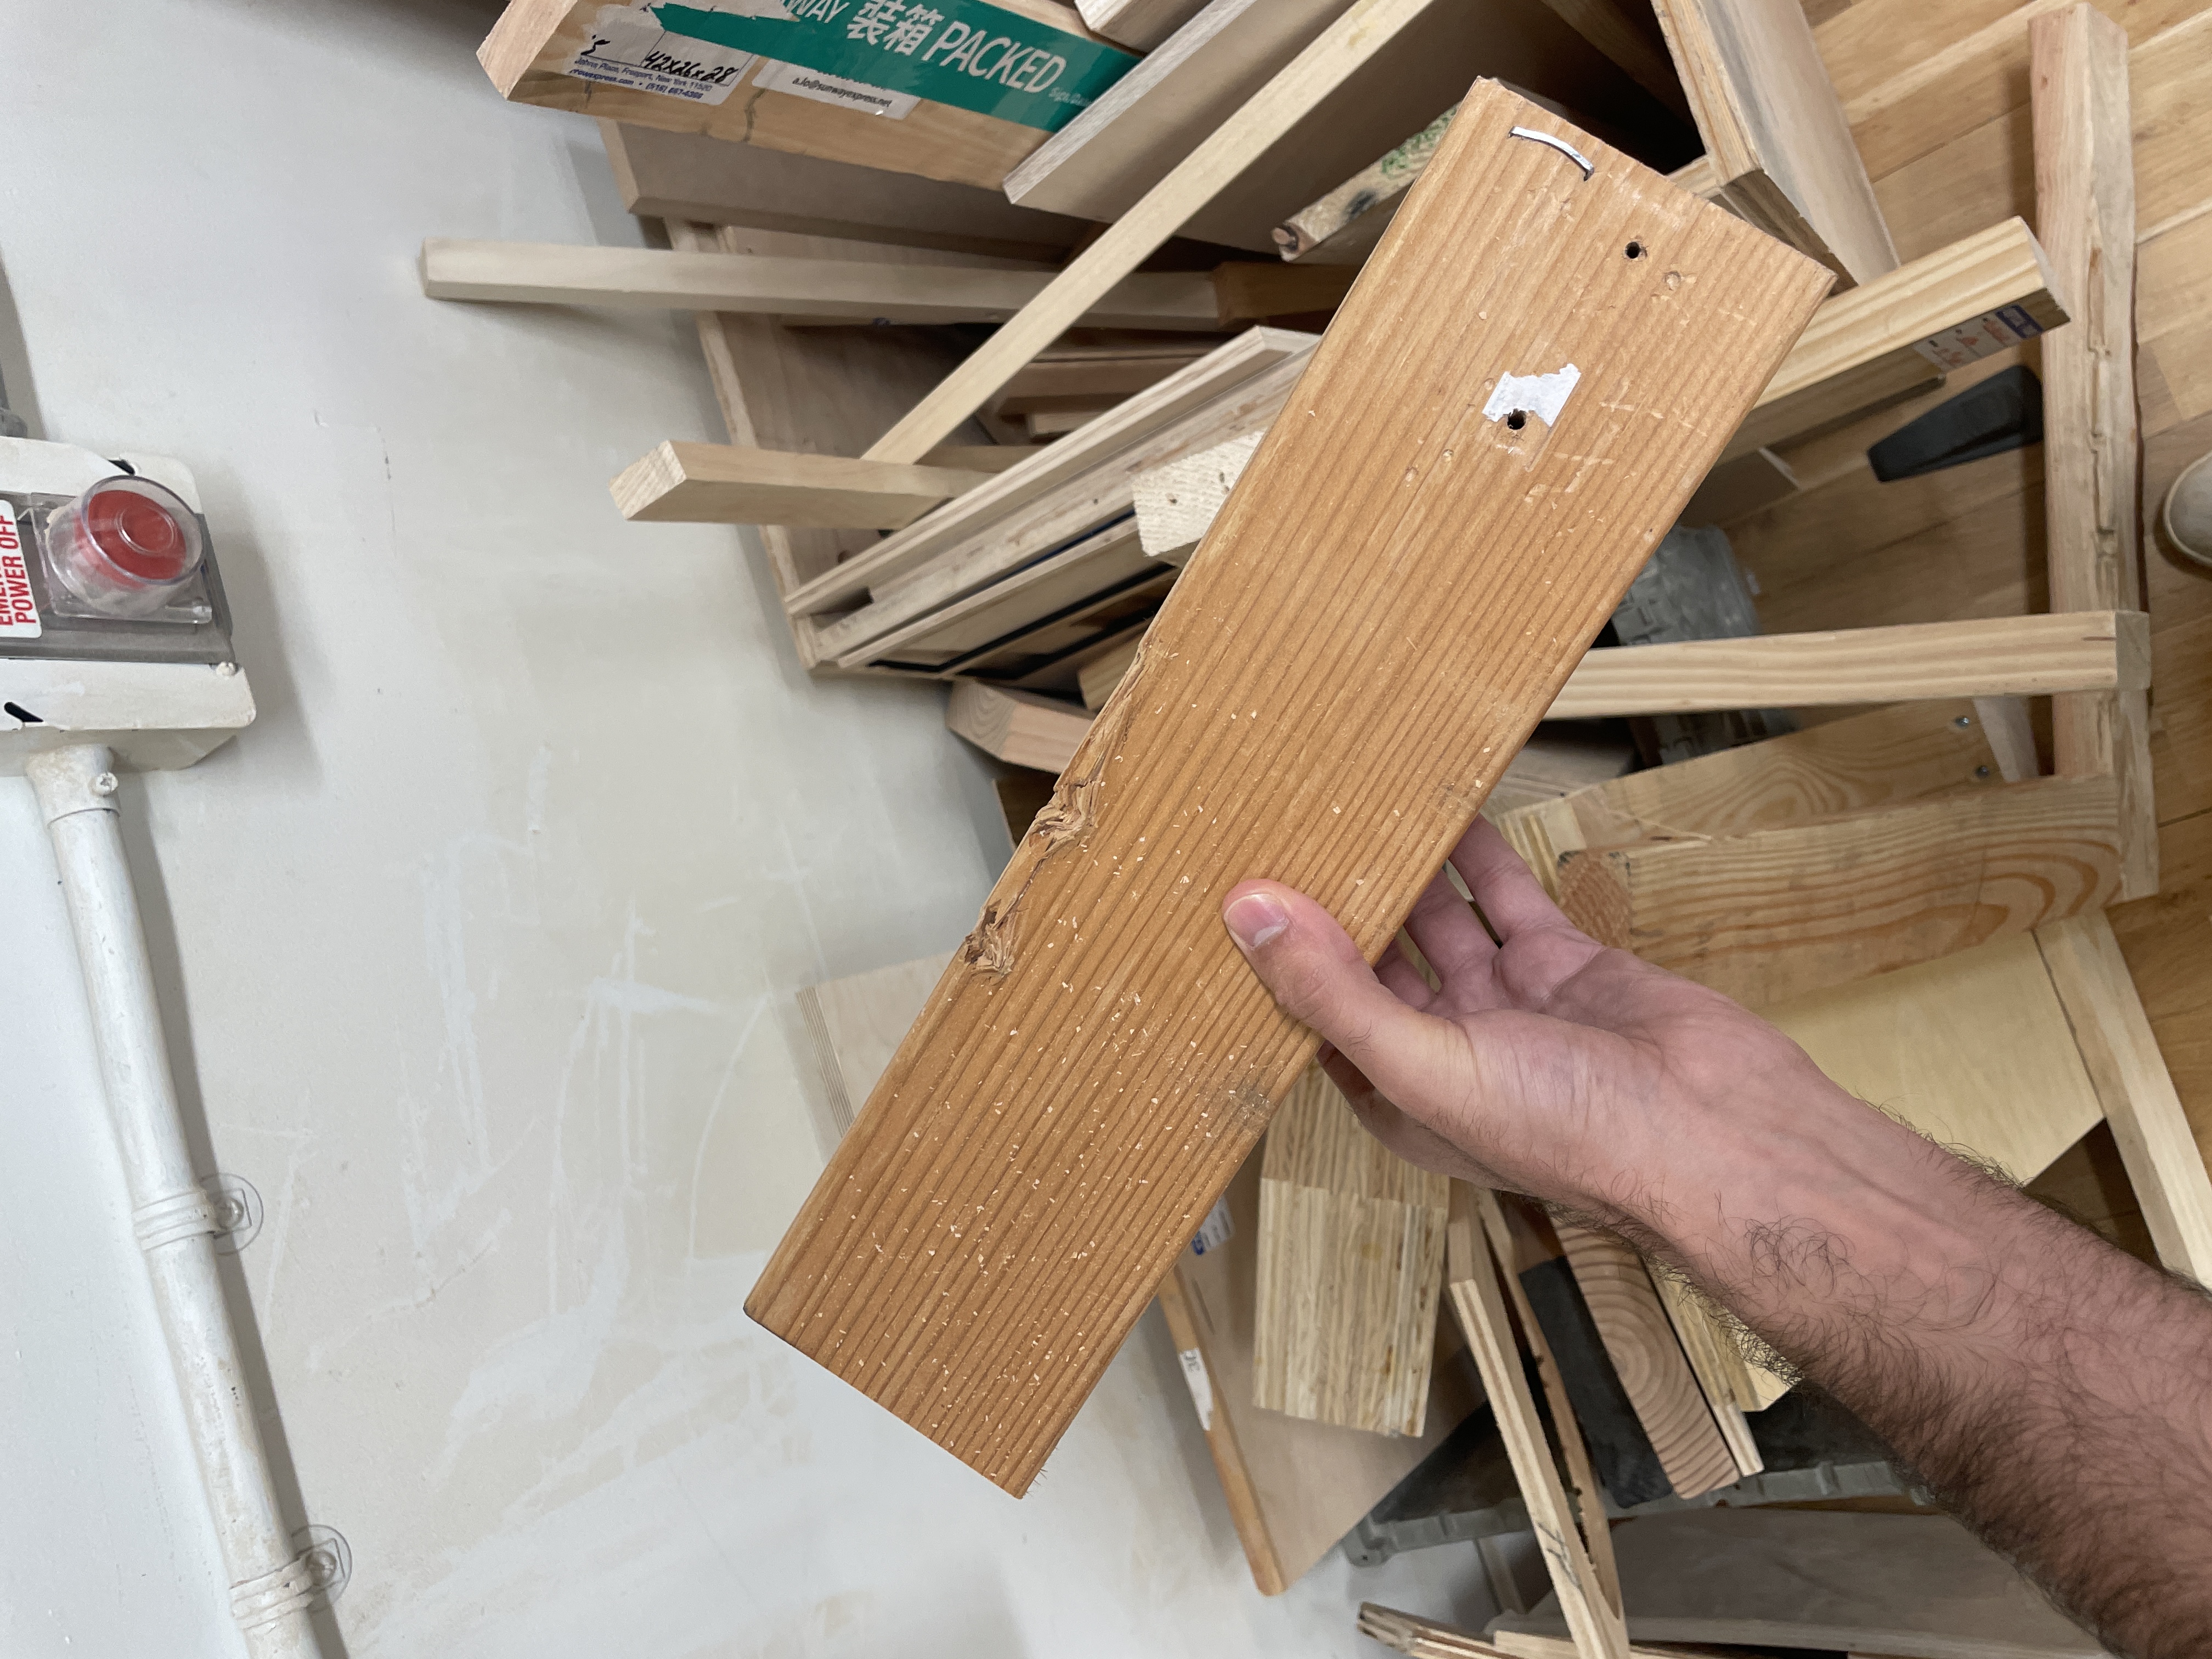 Scrap wood used to construct the box
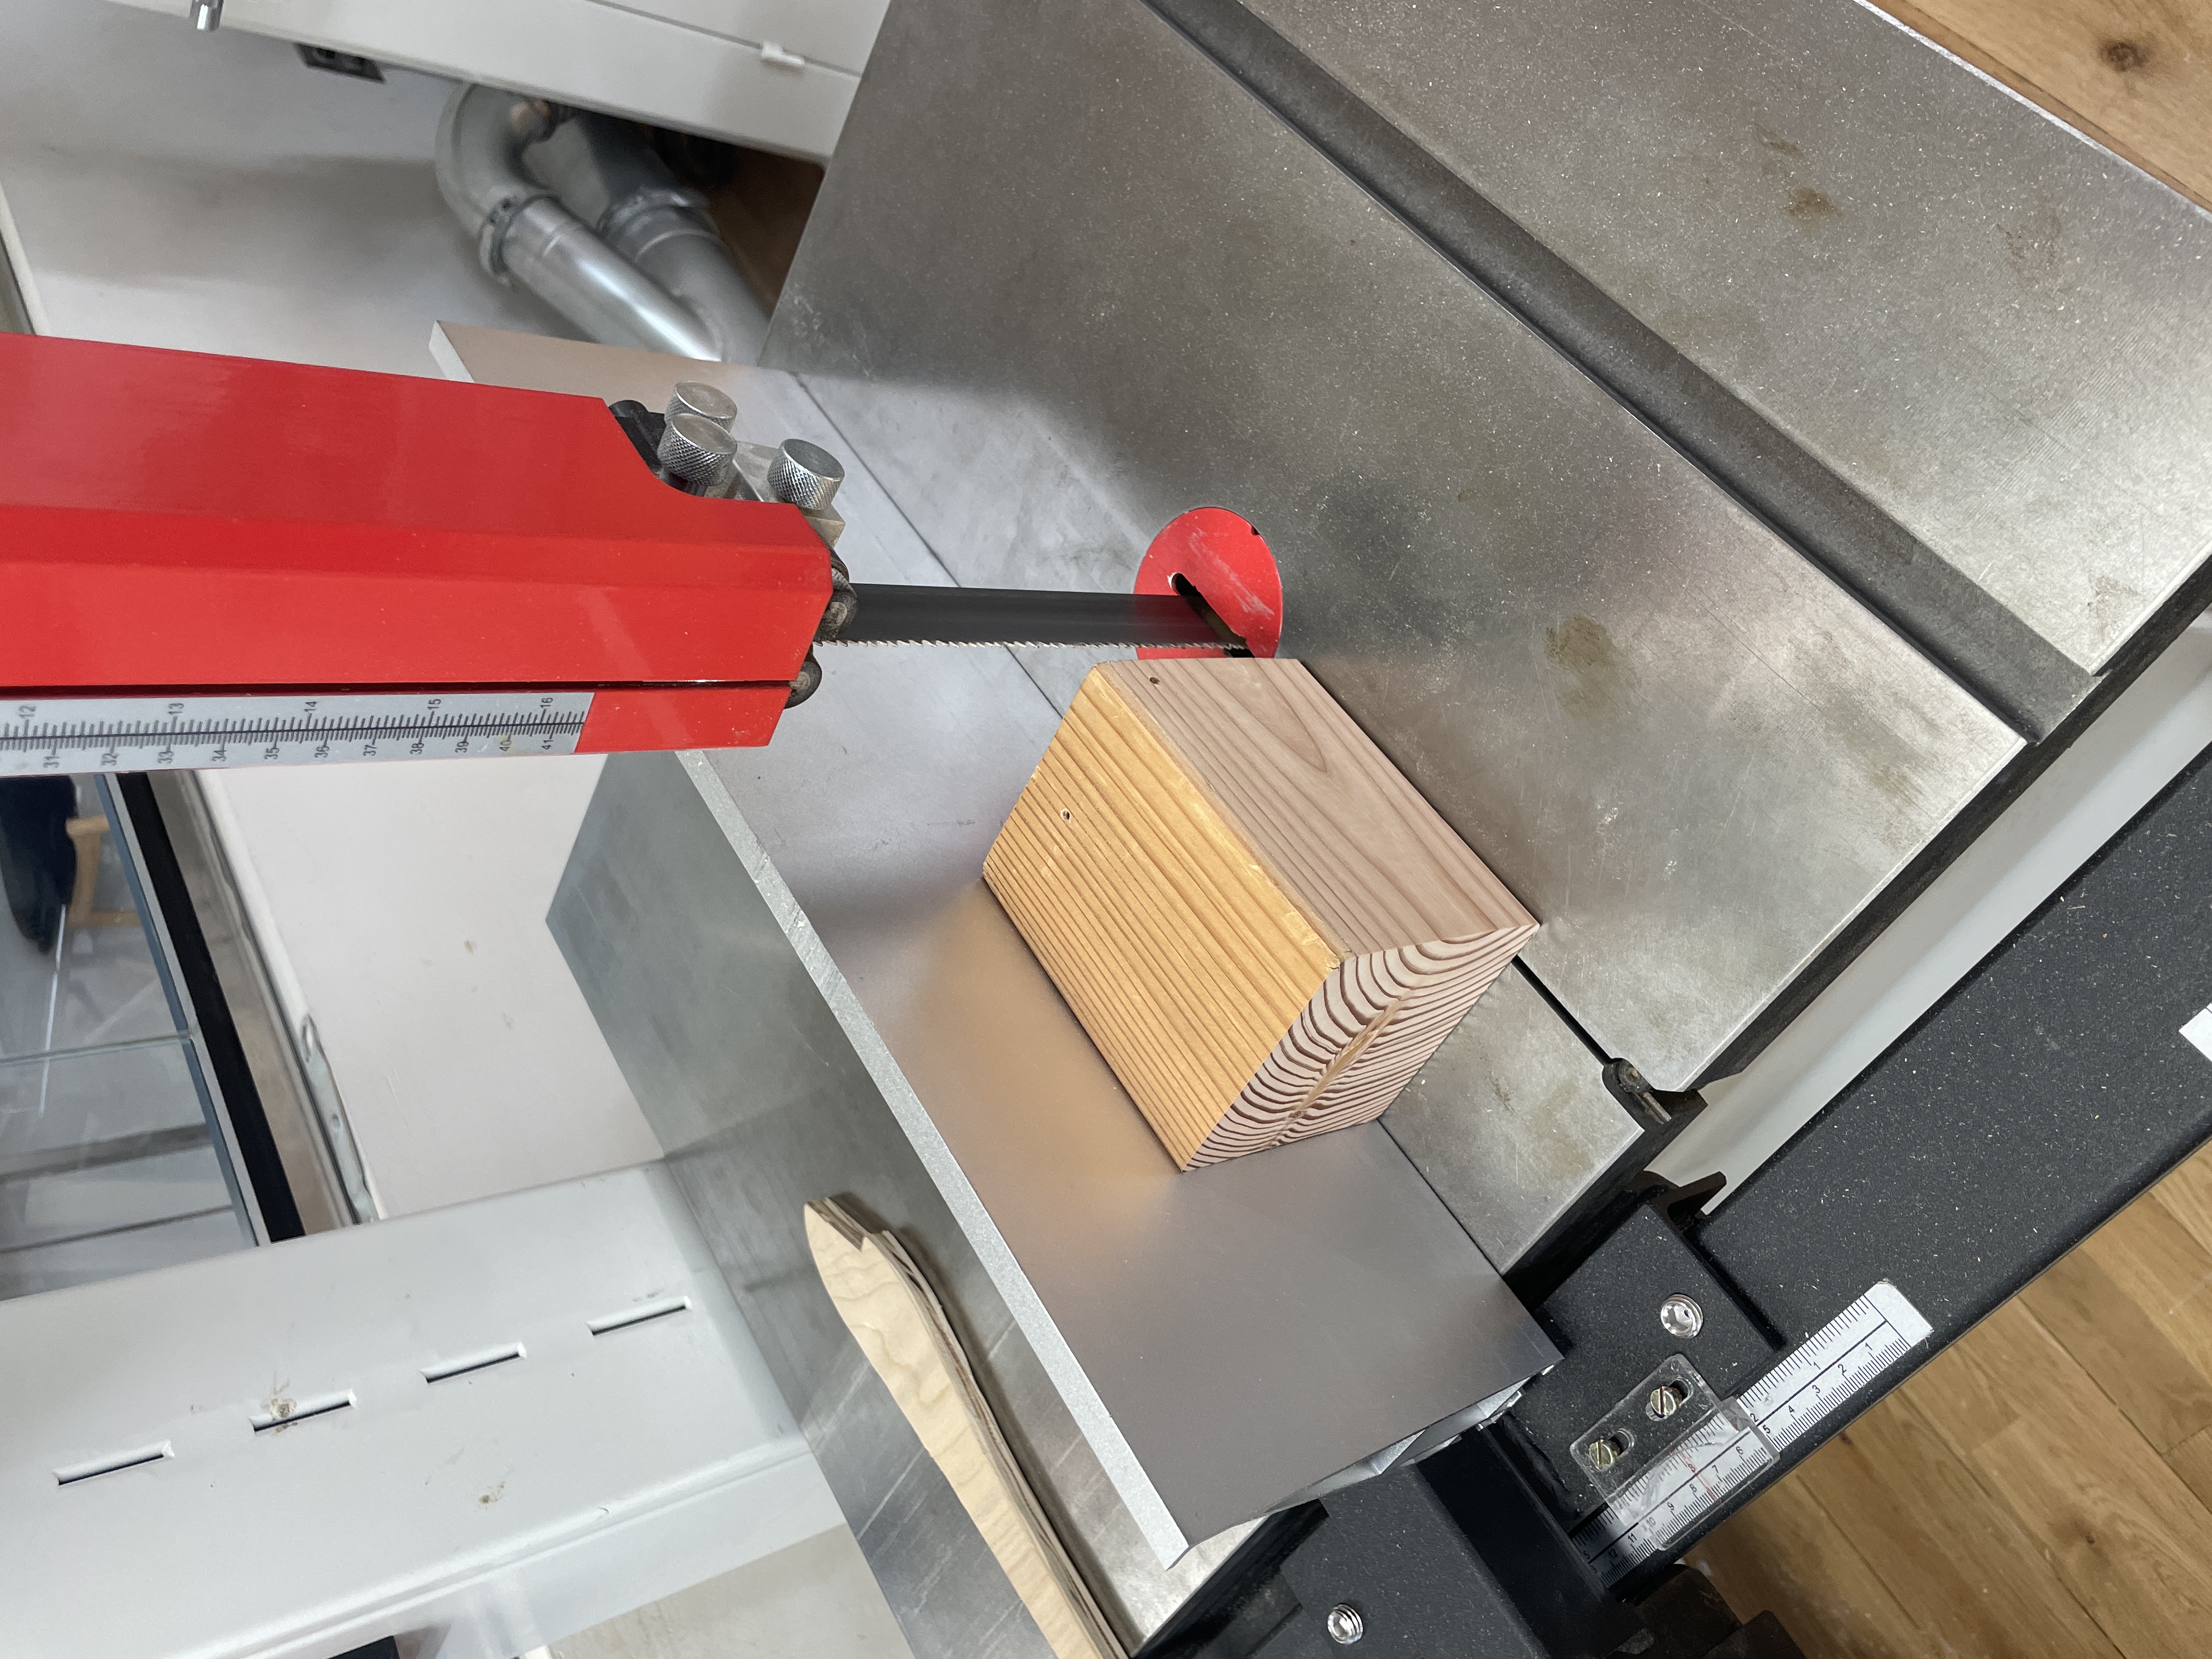 Cutting the lid of the box
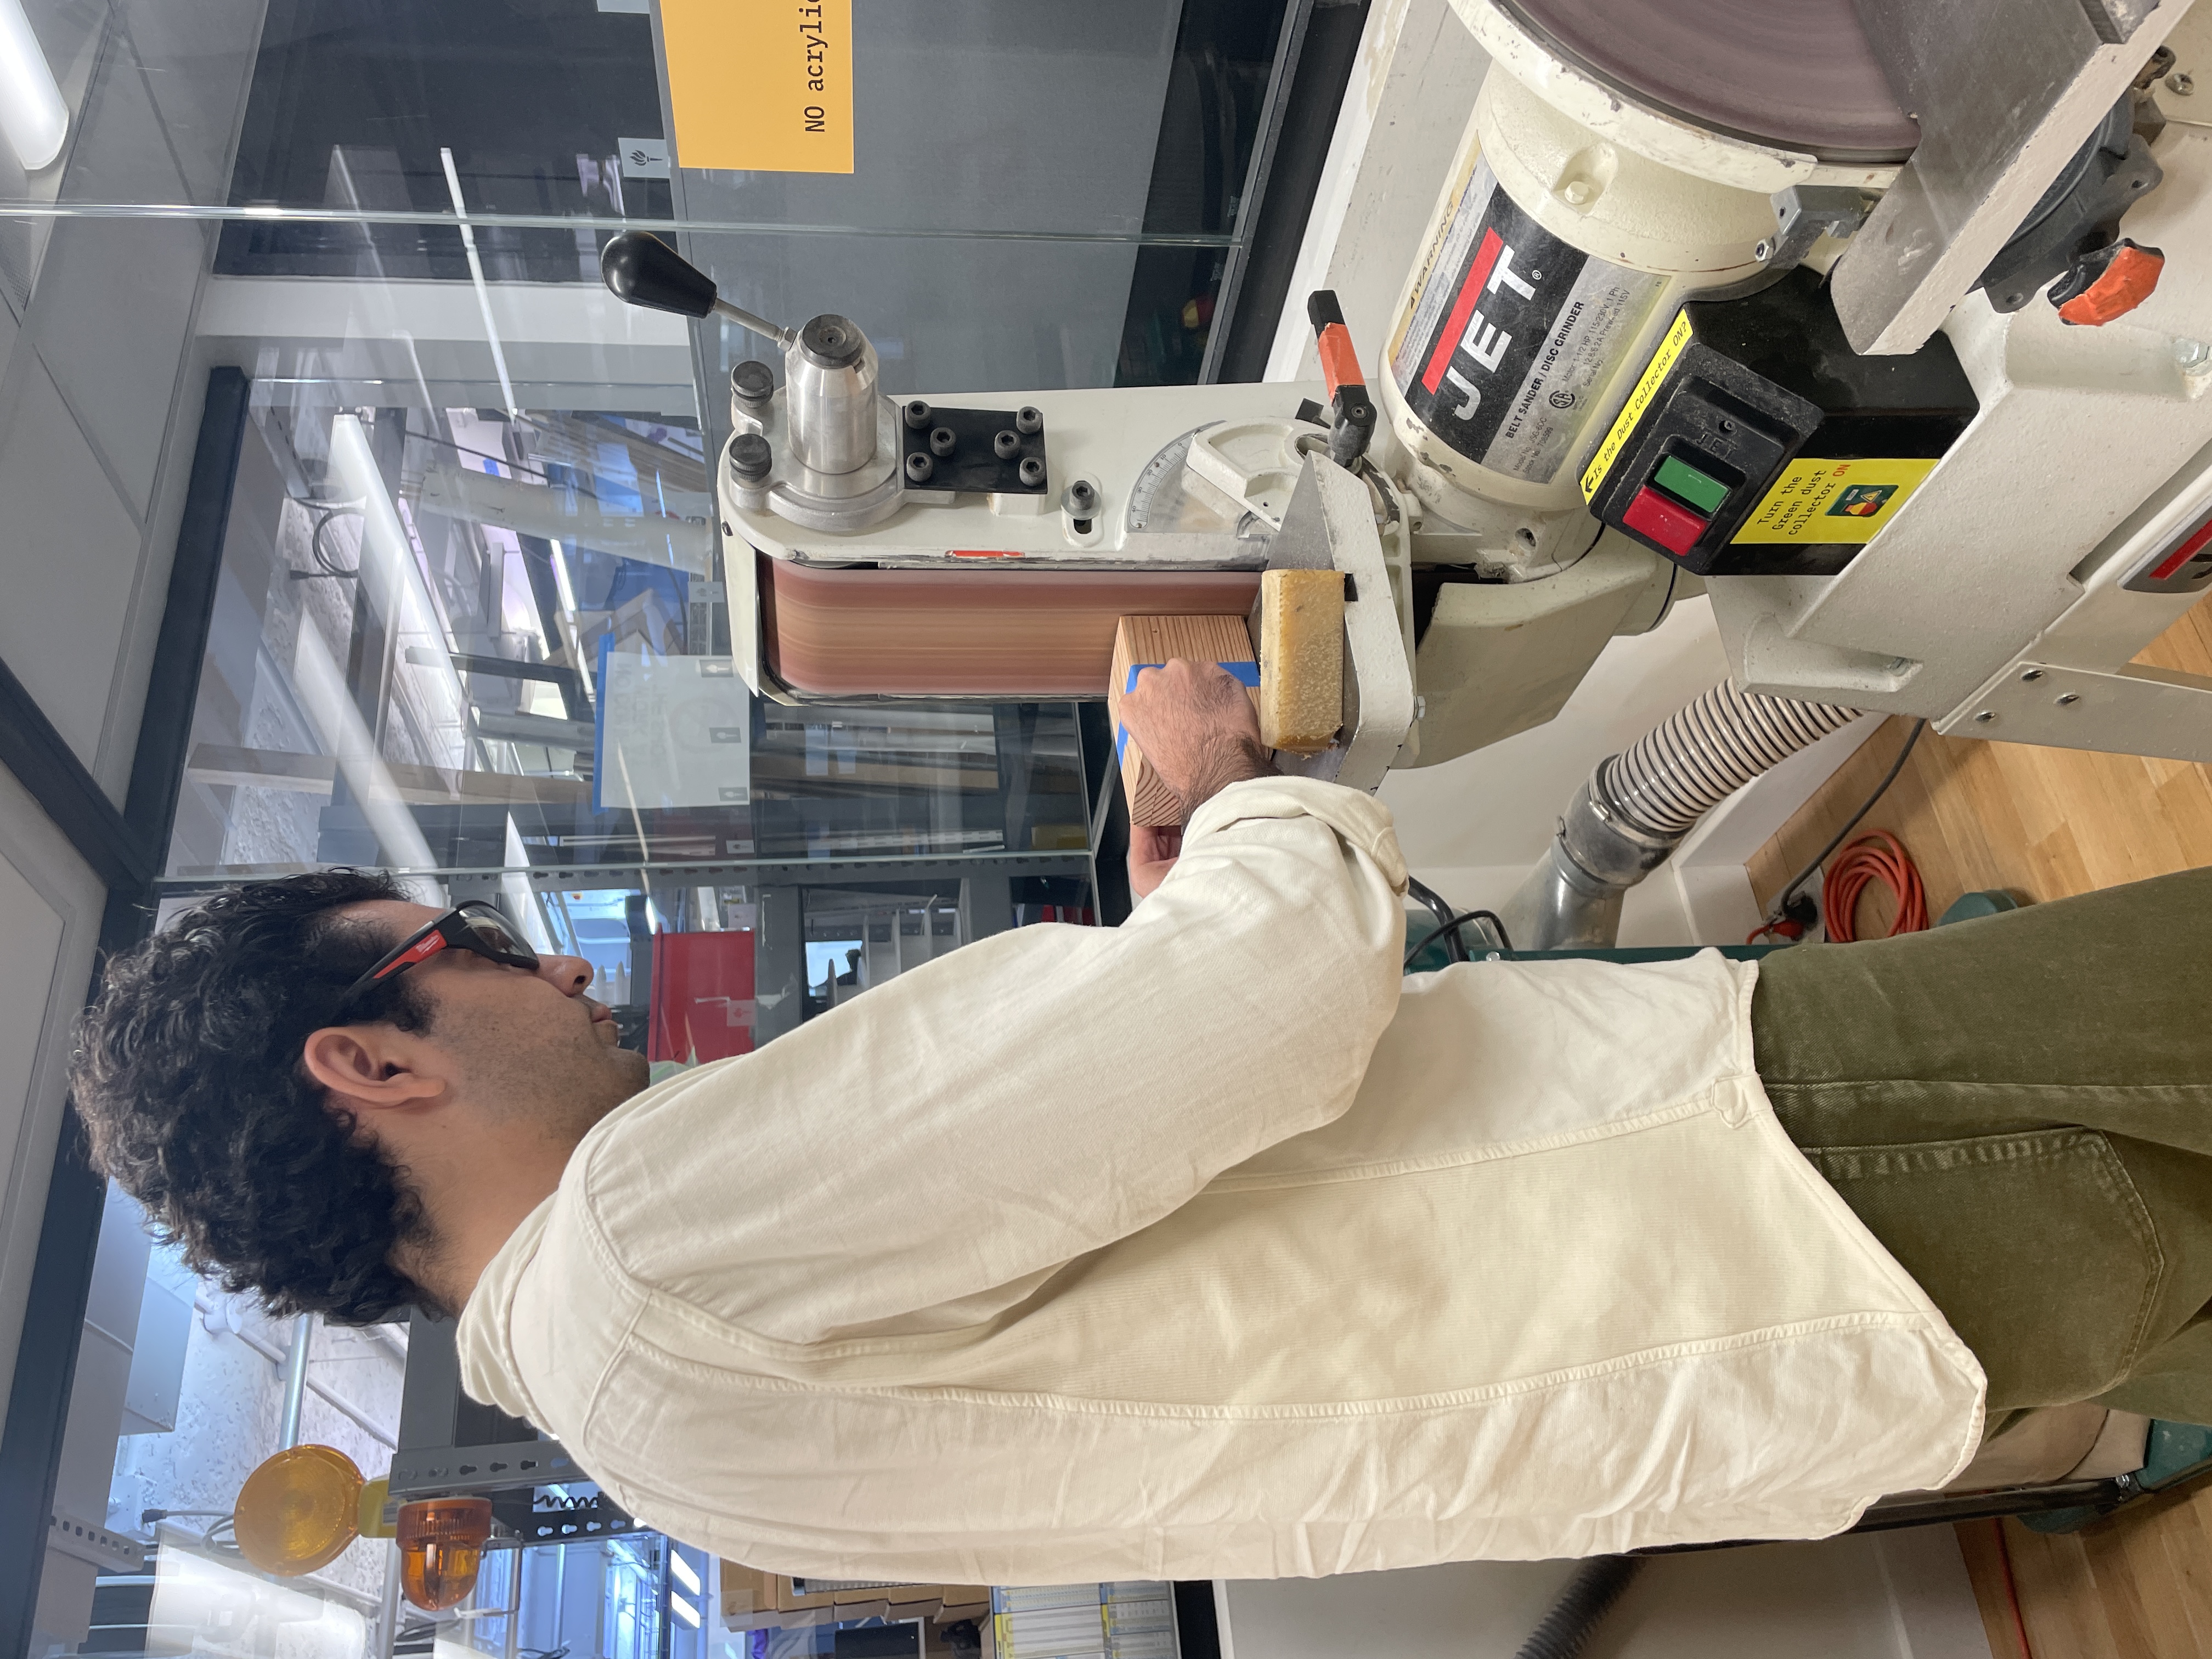 Sanding the box's edges
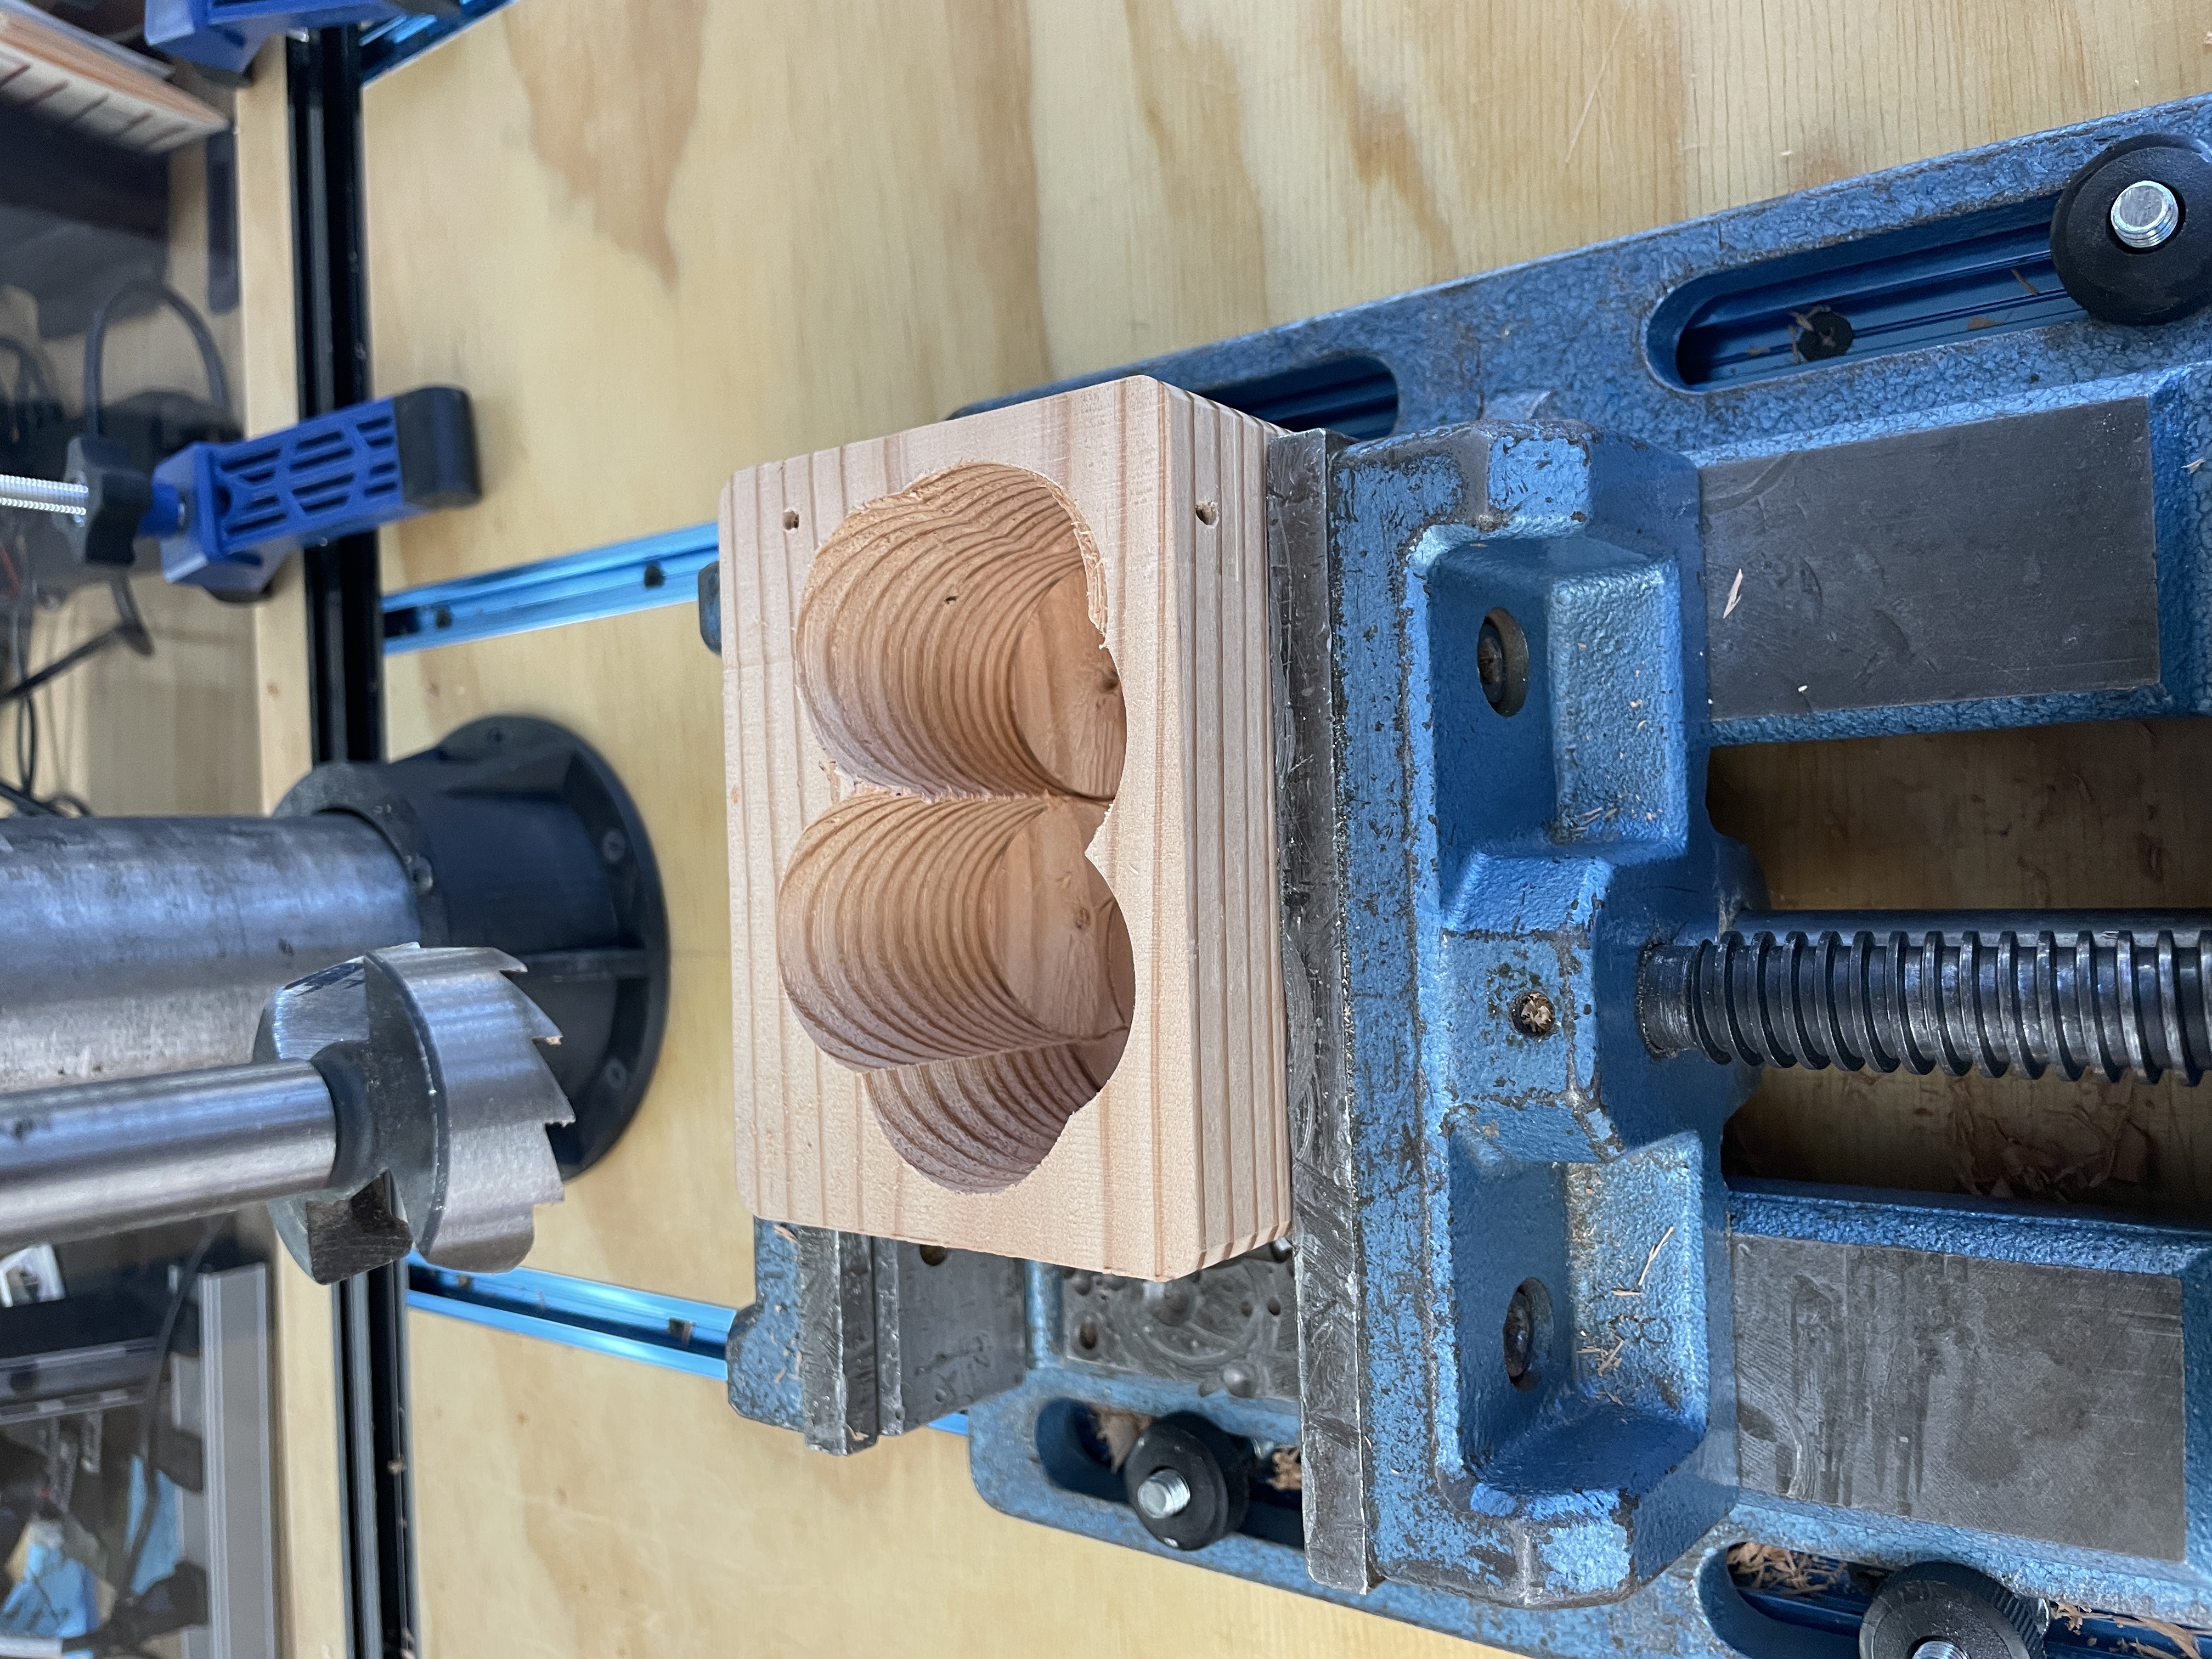 Using the drillpress to hollow out the wood
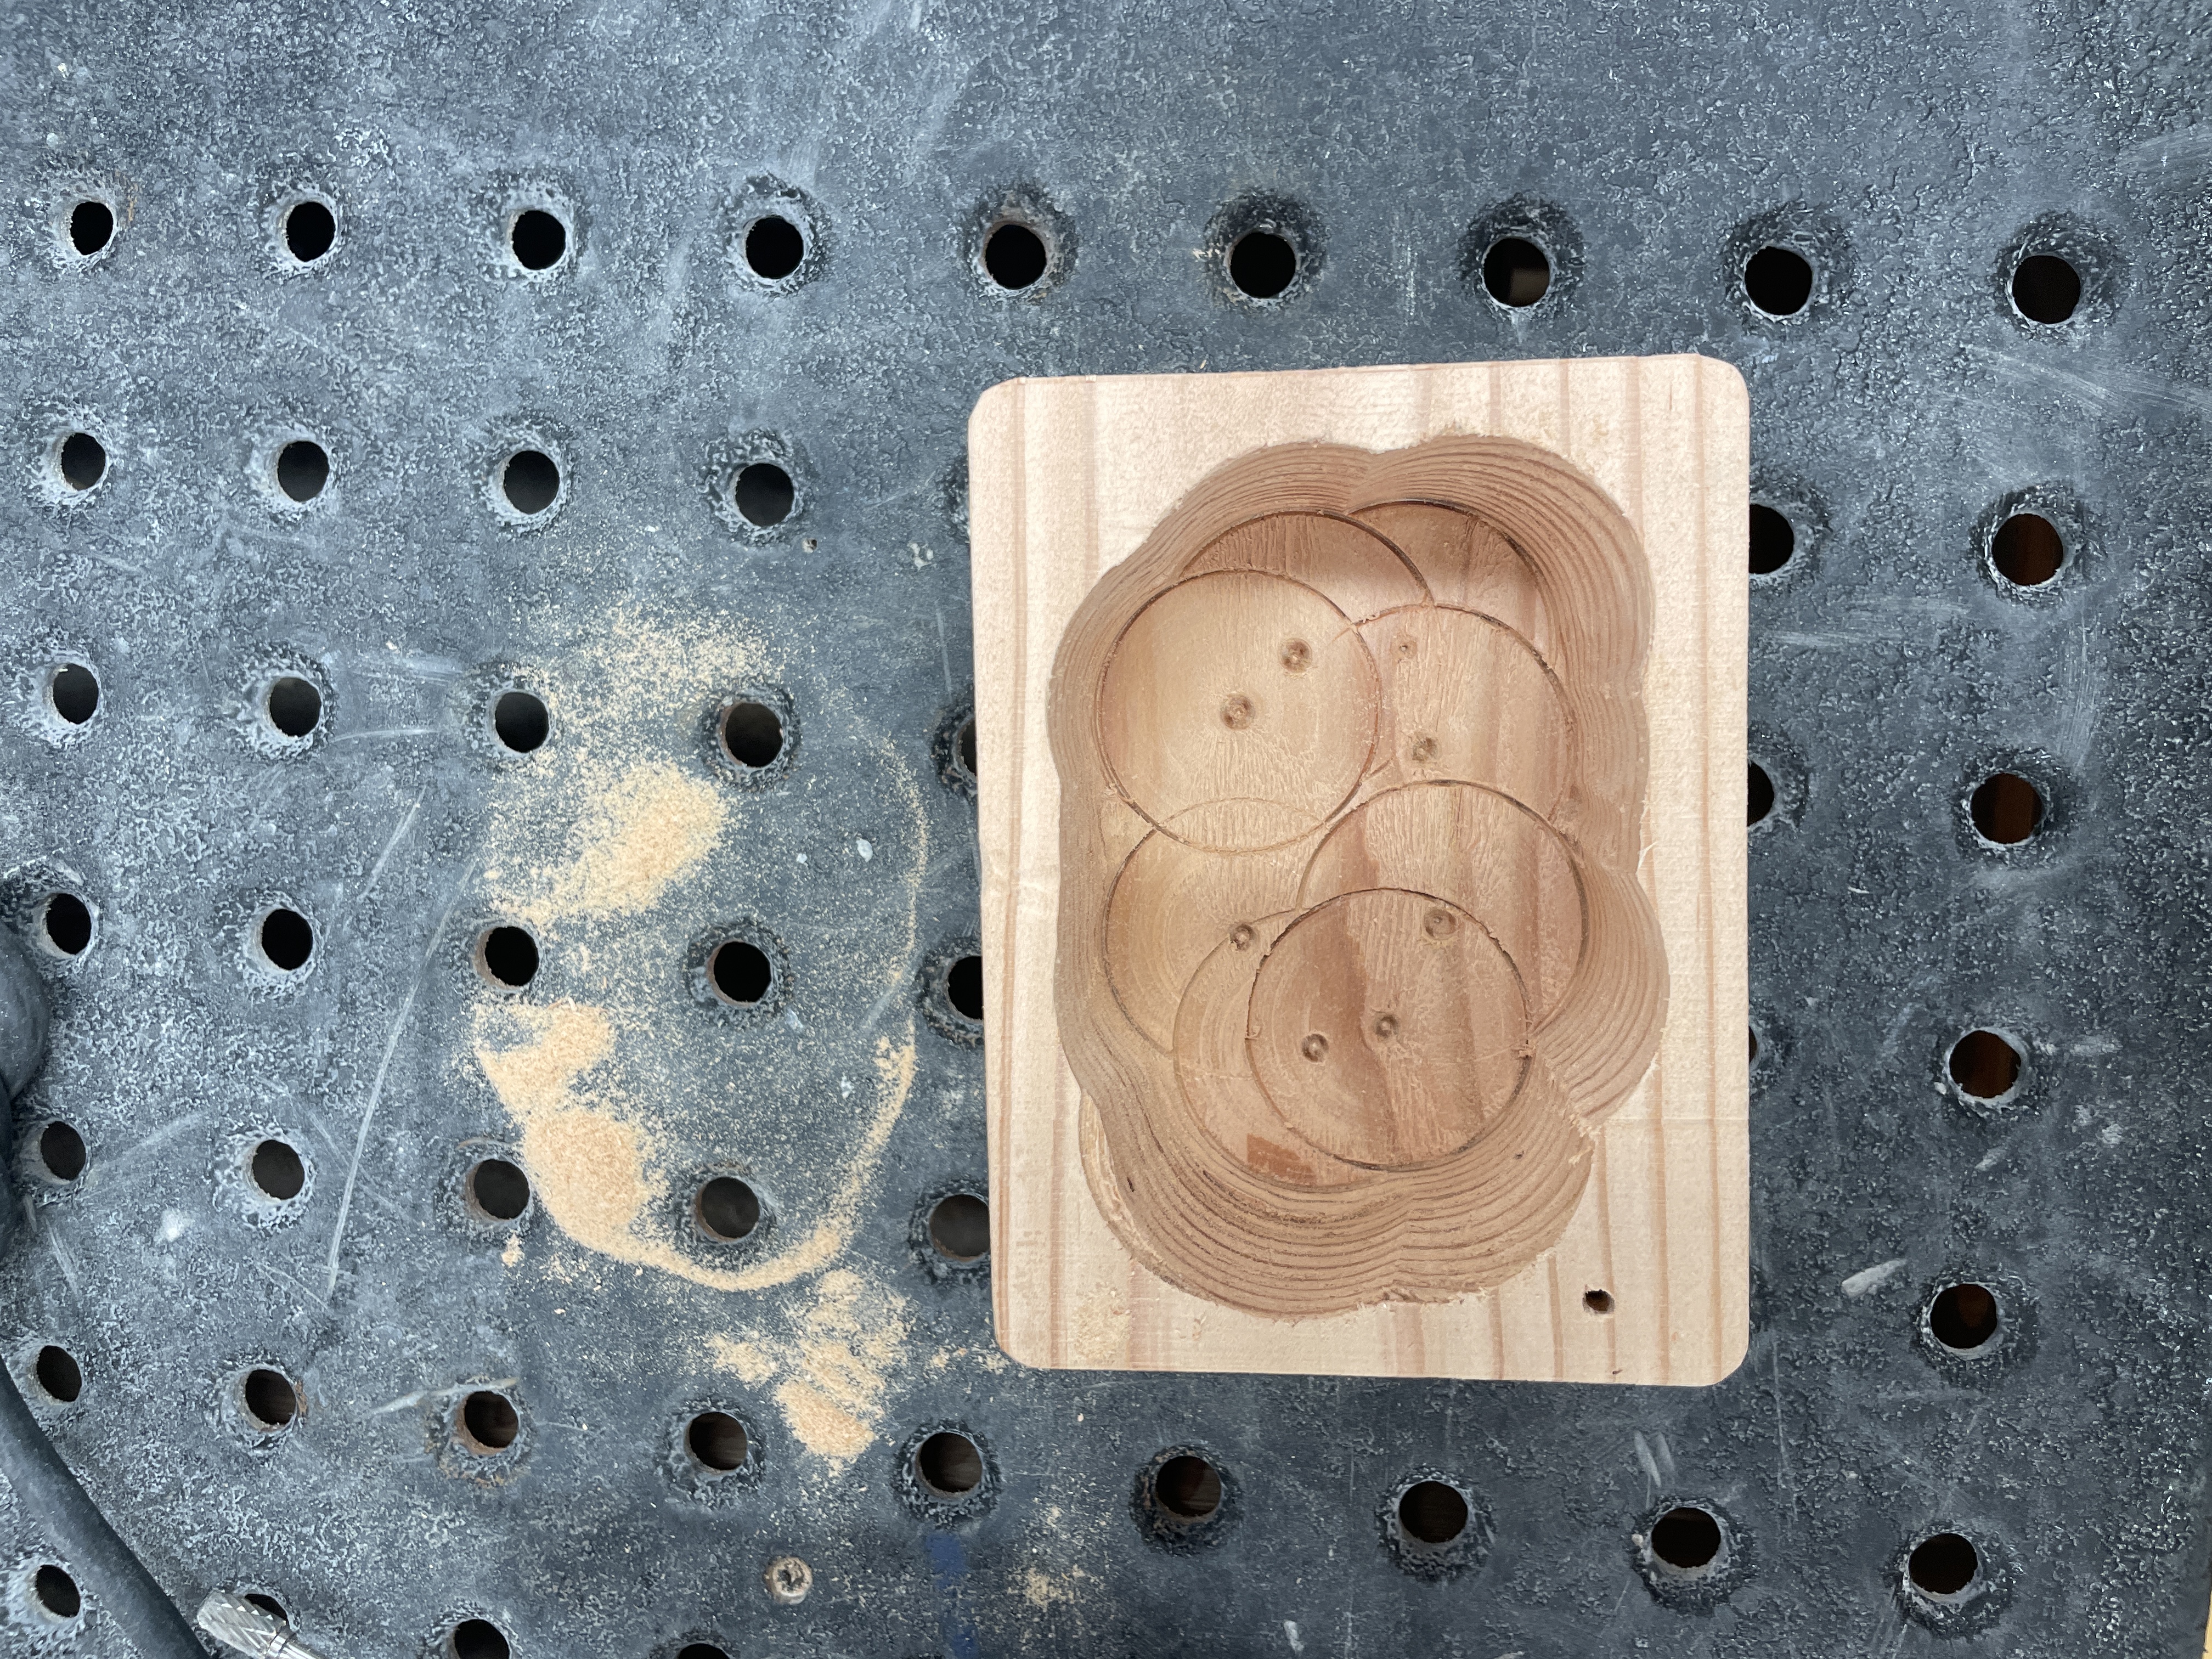 Cleaning the inside edges of the box
 The box after sanding
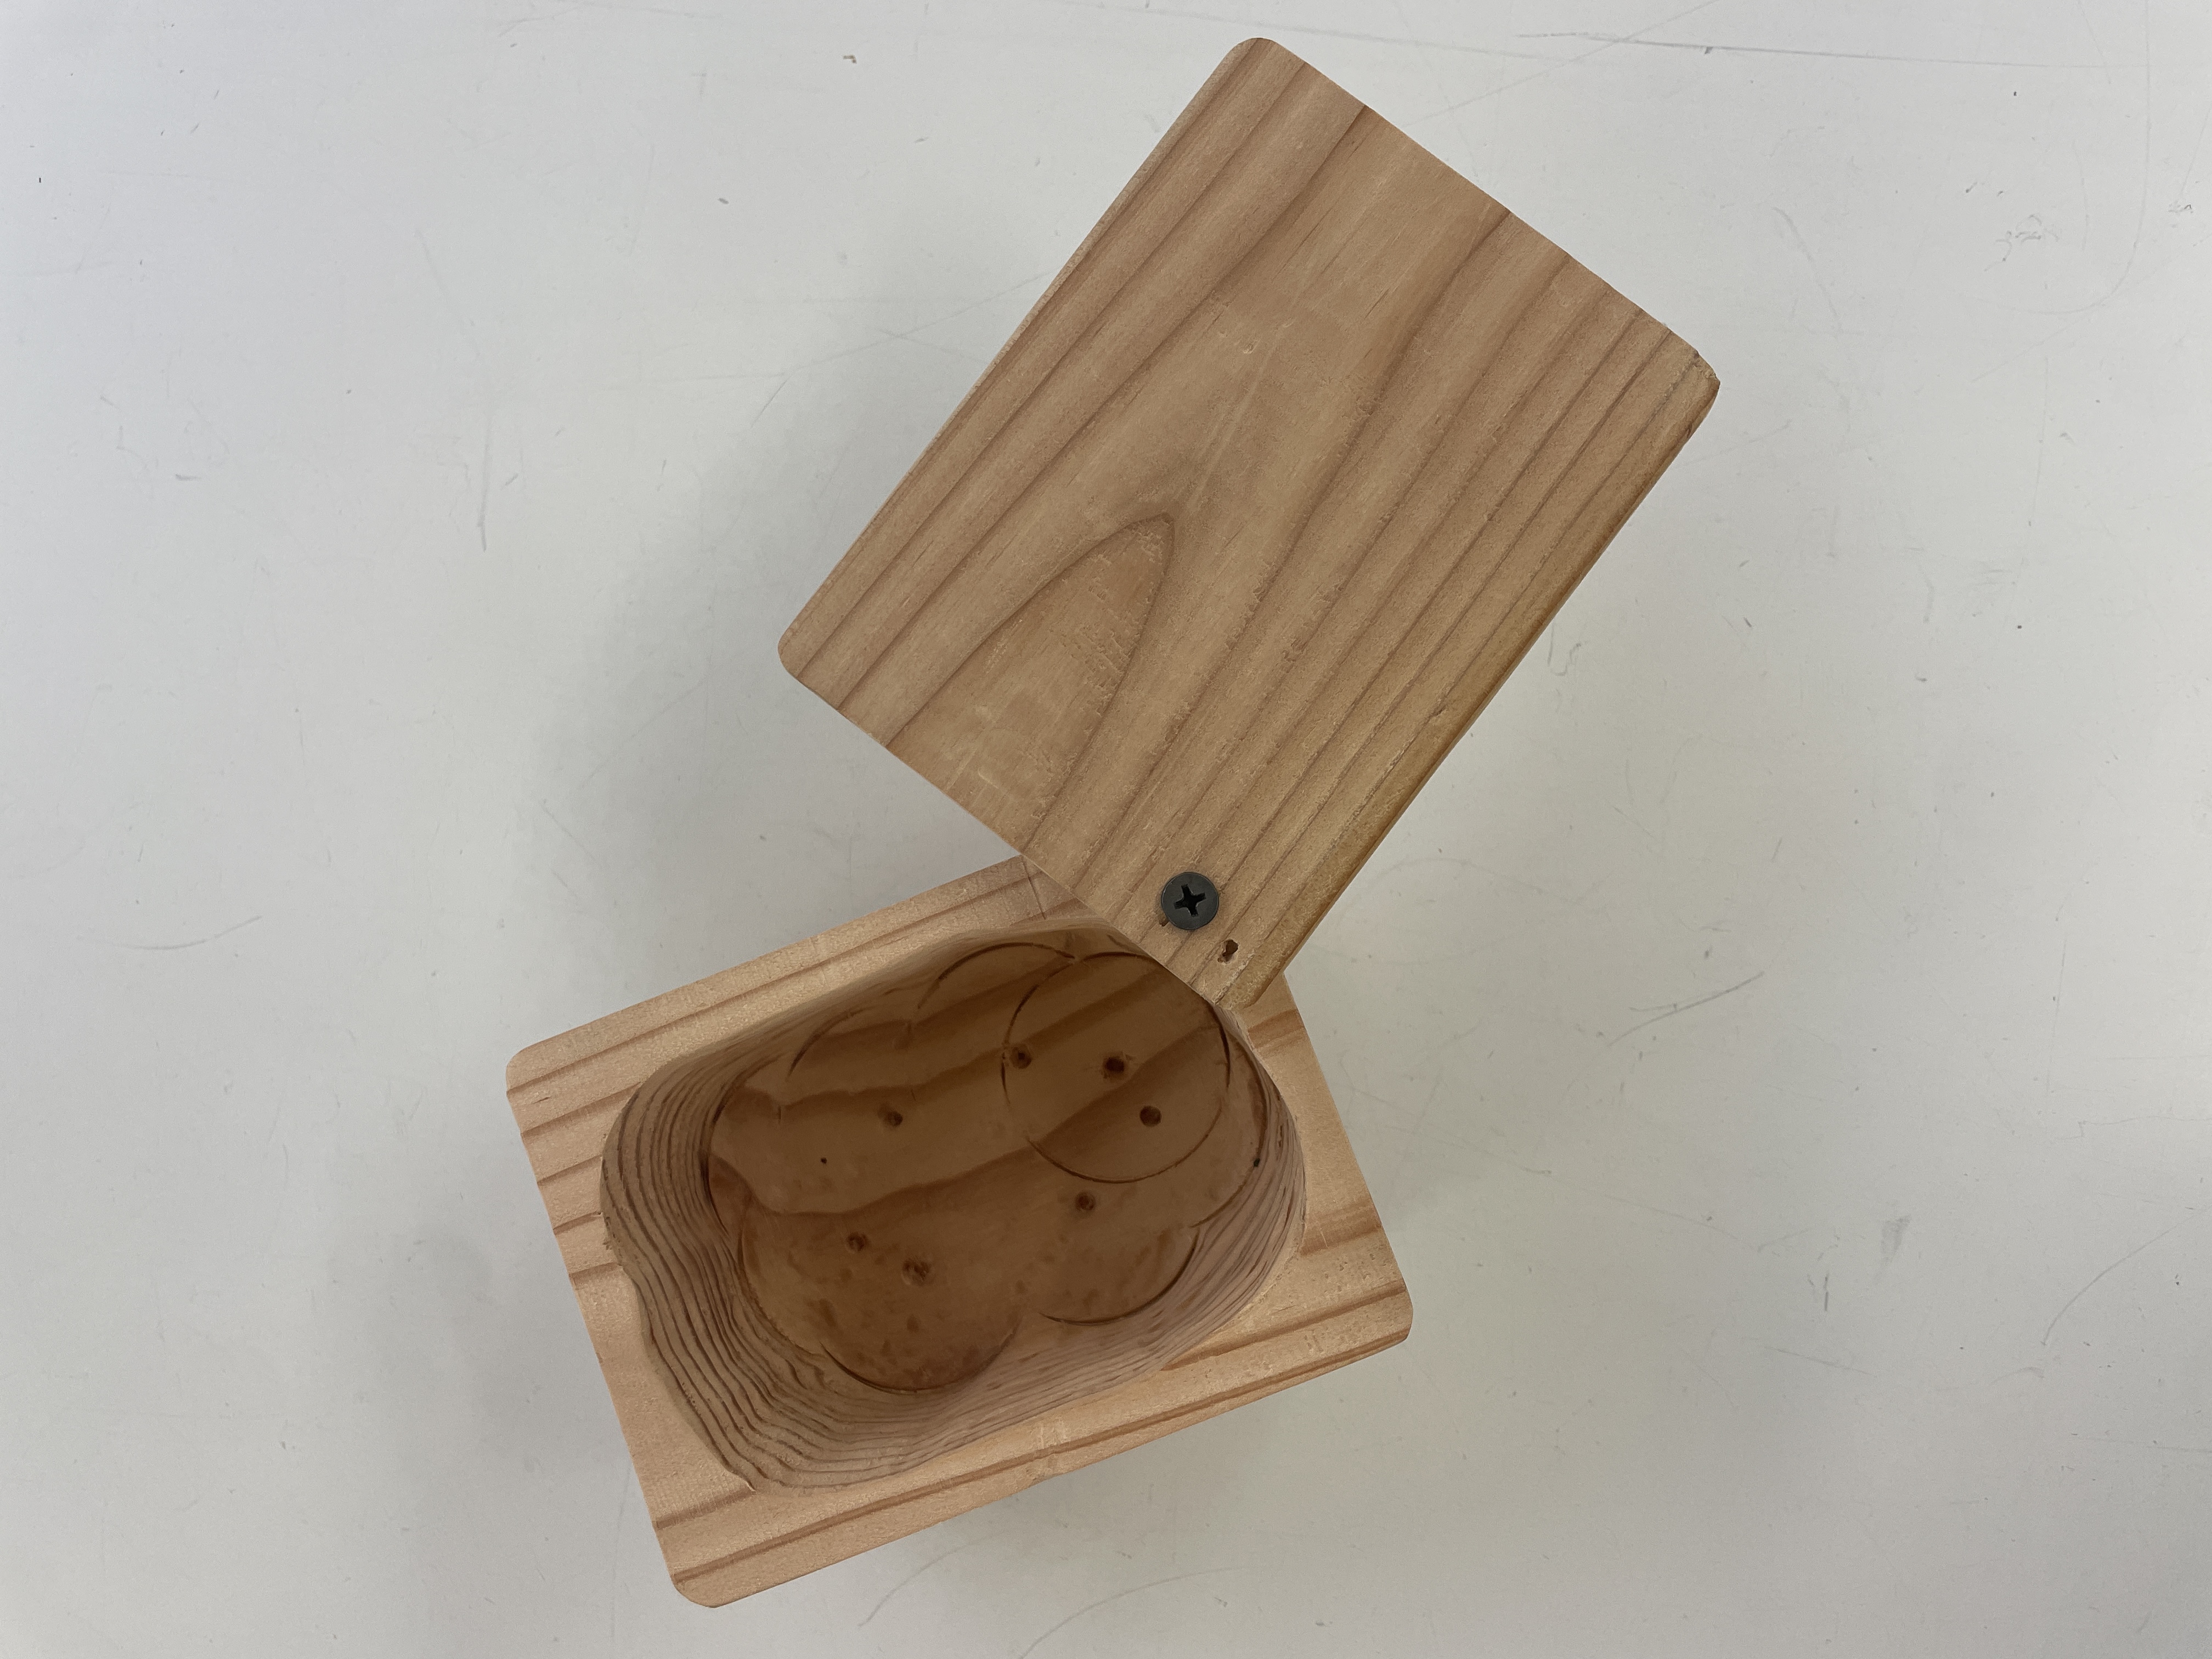 Bird's eye view of the completed box